Now it was time to work on the peghead. The plans don't really explain very clearly exactly how to go about making the peghead assembly. The peghead and the neckblock are all one piece. It took me quite a while to figure out how to do this, but I think I have it figured out. The tricky part was figuring out exactly how to cut the neckblock portion --- you have to cut it at the same angle as the section of the neck at the end, and you also have to cut the neckblock to allow for the sides. AND you have to figure in the slope of the back as it approaches the peghead.
Anyway, here's what I came up with.
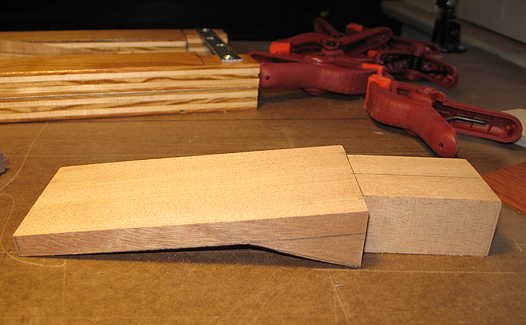
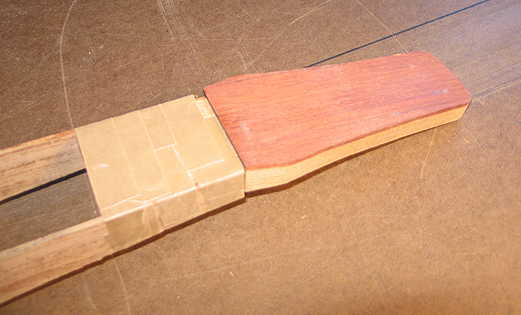
First, I cut out the basic shape:
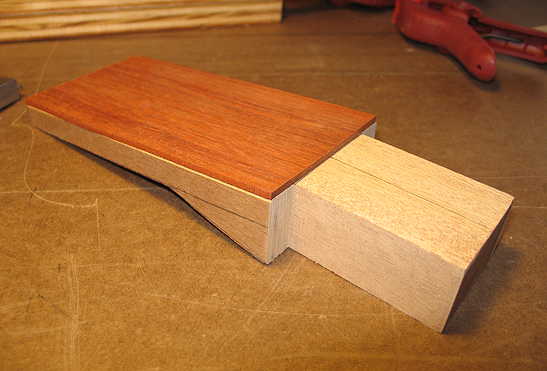
Then, I laid out a piece of bloodwood I will use as the peghead veneer.
|
|
Next, I made a template of the peghead shape that I will use later, to rout out the peghead.
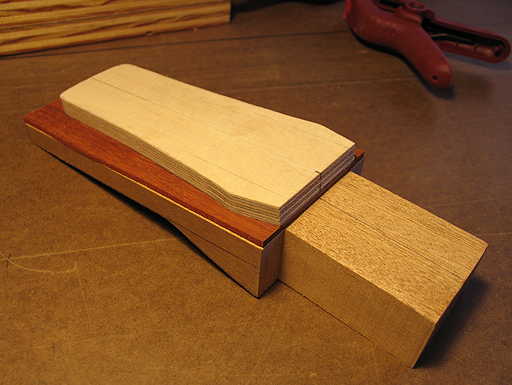
Finally, I glued on the bloodwood veneer. Tomorrow I will finish up the peghead and glue it to the sides.
|
Thursday, December 13th, 2012:
Today I worked some more on the peghead. (Sorry I didn't take photos of everything here --- too busy to stop and do that.) I first stuck my peghead template onto the bloodwood veneer with double-stick tape, traced it, and then removed it and bandsawed it just outside the line. Then I put the template back on and used my Robo-Sander to sand the peghead flush to the template.
The next thing I did was to place the neck block into its proper position between the sides and mark the side outlines onto the sides of the neck block. I then marked the rest of the peghead's side profile, down to where it meets the sides. I cut that on my bandsaw and smoothed it out on the belt sander.
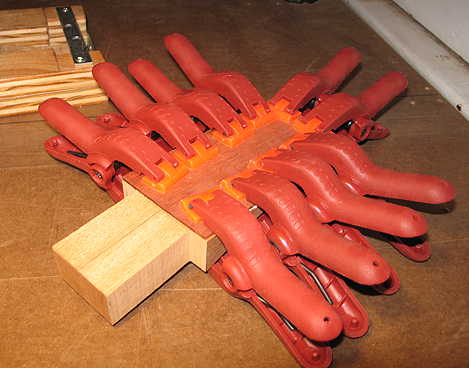
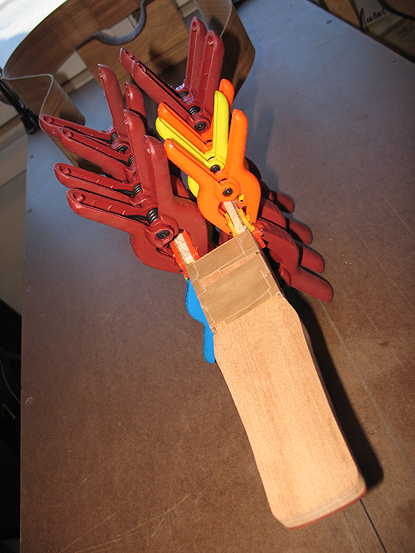
Finally, I glued the neck block into the sides:
(Oops...I only realized after I glued it, that I probably should have drilled the tuner holes in the peghead BEFORE doing the glue-up! It's not really a big problem, but would have been much easier that way.)
|
|
The next thing I did today was to make the spruce neck doublers (sometimes called neck strengtheners), which reinforce the straight run of the neck. I made mine 7/32" thick, which is the same dimension as the basswood kerfing I will be installing. Here it is being glued up:
|