Tuesday, December 18th, 2012, around 12:30 p.m.:
Since Saturday, here's what I have done:
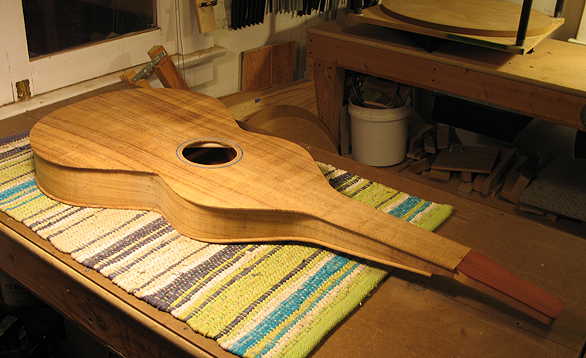
1. Sanded the inside of the side set, and sanded the 25' radius into the kerfing (except for the flat section of the top above the soundhole).
2. Laid the side set on top of the top and back plates, and marked where the top and back braces jutted into the kerfing.
3. Trimmed the top and back braces so they stop just short of the sides.
4. Made a Weissenborn-shaped caul to lay on top of the kerfing (to protect it from the go-bar sticks and clamps).
5. Routed out (with the Dremel) the brace pockets in the kerfing.
6. Checked the fit of the top and the back, and made some adjustments accordingly.
7. Trimmed the neck ends of the top and back plates (the top, where it meets the peghead veneer; the back, just before it scoops downward at the neck block).
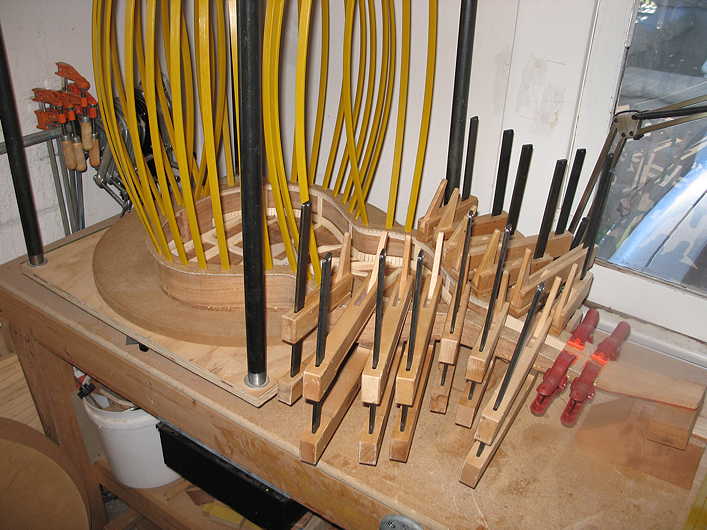
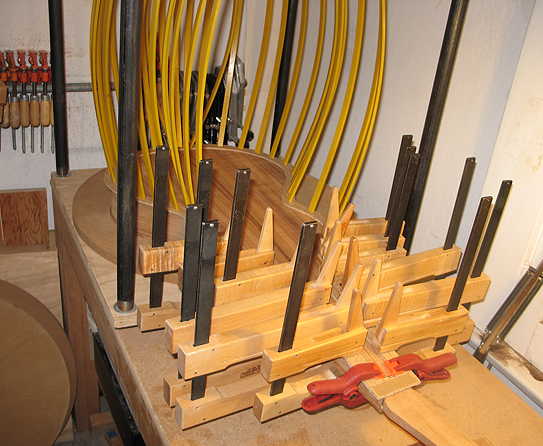
8. Did a trial run, to determine exactly how I would clamp it all up.
9. Took a deep breath, spread glue on the side set kerfing, and clamped it all up. (I have only the portion of the top below the soundhole in the 25' radius dish, as the top is flat above the soundhole.)
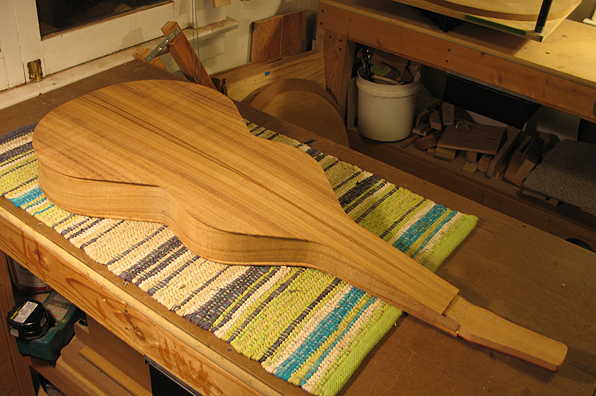
So. . . . what you see to the right is where it stands now.
I opted to do the gluing with the body outside of the mold, since the kerfing had made the side set rigid enough to hold its form, and since it would be much easier to do all the clamping I needed to do on this one, without the mold getting in the way.
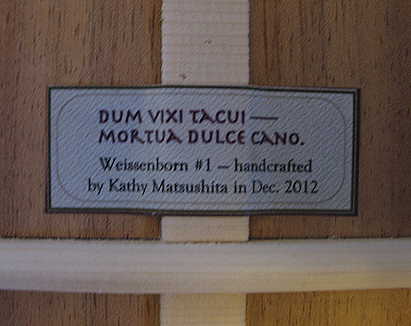
NEXT: While this is setting up. I will move on to making the label for the back and gluing that on. I will also return to the fingerboard and inlay its position dots.
|