Saturday, December 22nd, 2012:
I don't have much time today to work on the guitar (have a couple of Christmas get-togethers), but I was able to level down the binding on the fingerboard. I used my mini-plane and sandpaper to do this.
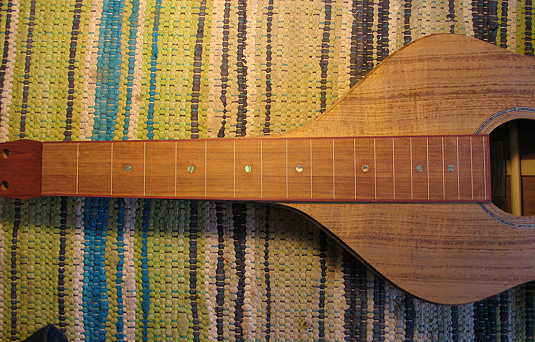
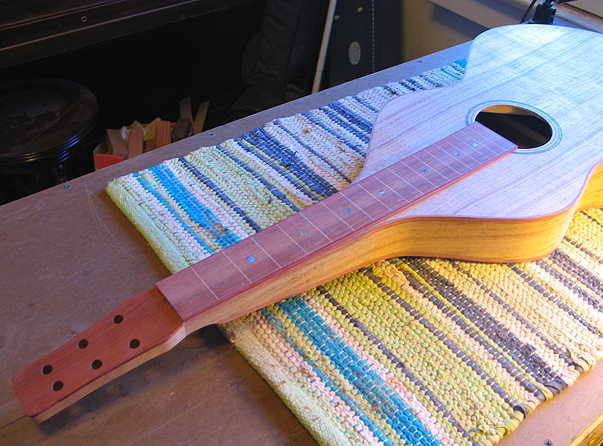
Here is the bound fingerboard set against the guitar:
|
|
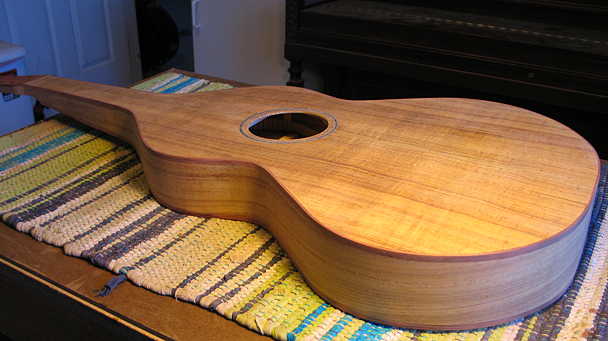
And here it is how it might all look under finish (I've dampened the guitar top and put some lemon oil on the fingerboard):
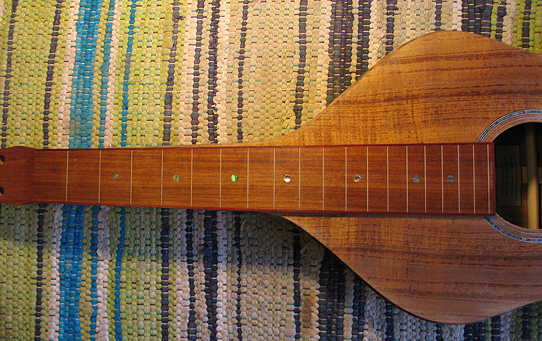
Kind of pretty, huh??? |
Thursday, December 27th, 2012:
Well, since last Saturday, I have been working, here and there, on the binding. As I previously had stated, my first intention was to bend the bloodwood bindings by hand, since I had not built a side-bending form (because I'd bent the sides by hand). I've done this before with bloodwood binding, with no problems. However, when I started to bend these bindings on my electric bending iron, my first two pieces cracked on me.
Therefore, I decided to build a quick bending form and bend them on the bending machine. Here they are in the bender, with all sorts of clamps and supporting pieces attached. I supported the bindings between two scrap pieces of 3/32" thick wood (as pictured here, in a previous instrument: http://theamateurluthier.com/moreprojects/htmlpages/five17.html).
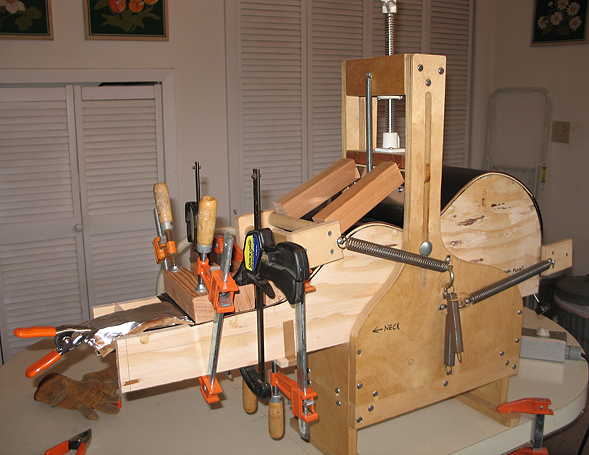
Even after bending the strips in the bender, I still had some touching up and adjustments to the bends to do on the electric iron, which took me a bit of time. But everything turned out okay in the end. |
|
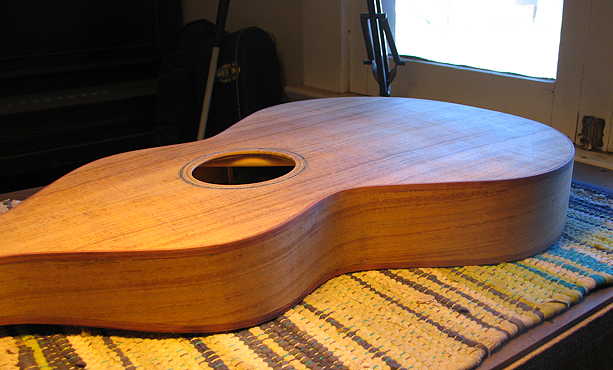
Here are the results, after I have scraped and sanded the bindings down. I still have a few places on the sides where I need to fill some gaps between the binding and the sides, and I will do that by putting some Titebond in the gaps and sanding it with 120-grit, so the sanding dust will mix with the Titebond and fill those gaps.
|
Here is the end wedge and binding. (I still have to do the gap-filling on the sides, so that gap at the bottom will disappear later.)

Below is how the fingerboard will look with the binding scheme.
|
|
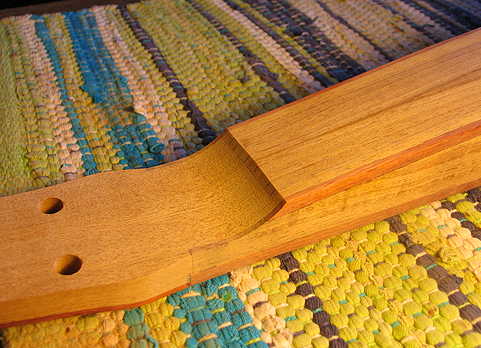
And here are two views of the peghead scoop:

Well, that's it for today. I am tired. I think tomorrow I will take a break from building and go to see "Les Miz"!!! |