Randall's Kit Project (With Some Of My Concurrent Build Thrown In, As Well)

Tuesday & Wednesday, April 28th-29th, 2015

I've just begun preparing for a project, in which I will be building a Martin kit guitar alongside a friend from church, who is interested in learning to build a guitar. He is already a wonderful guitar player (he has an Olson guitar!). I bought two OM kits from Bluescreek Guitars, and I will build one kit as my friend builds his. Should be fun!

Here's what the OM kit looks like:


The first thing I needed to do was to build a second mold; to the left is the mold I got from Bluescreek Guitars; to the right is the one I built, a pretty easy method of building a quick mold, consisting of two layers separated by spacers.


TABLE OF CONTENTS:

Return to AMATEUR LUTHIER HOME PAGE

  1. Session #1
  2. Session #2
  3. Session #3
  4. A Successful Experiment!!!
  5. Bolt-Hole Success Again!!!
  6. Sessions #4 and #5
  7. Session #6
  8. Session #7
  9. Binding Prep
  10. Bending Binding Trial Run
  11. Session #8
  12. Session #9
  13. More Binding Work
  14. Session #10
  15. Session #11
  16. Session #12 and some French Polishing
  17. Sessions #13 & #14
  18. More French Polishing, Session #15, and Even More Polishing!!!
  19. I Love French Polishing!!!
  20. Sessions #16, #17, and #18
  21. Session #19 --- Randall, French Polisher!!!
  22. More Progress
  23. And Even More Progress!!!


Here I have routed out pockets so that the four mending plates (two on each side), which allow me to separate the mold halves, will allow the mold to lie flat on the workbench. I like to use mending plates, instead of hinges or toggle clamps, so that I still have the neck and tail ends of the mold flat for clamping.


The final thing I did was to build spreaders for both molds. I have lined them with some green stick-on felt I had on hand.

Monday, May 11th, 2015:

Tonight is Randall's first building session. I think we'll glue the neck and tail blocks to the sides, and get a start on bracing the top and back.

To do that, I did a little more prep work for what we need to do tonight.

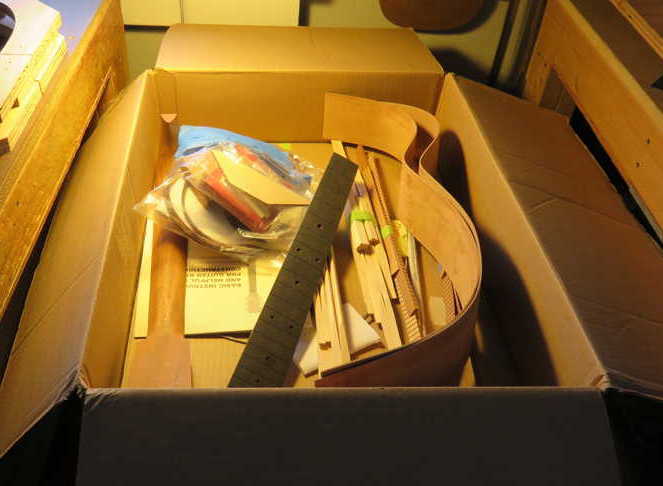
Usually Martin kits come with the sides' ends already trimmed to size, so they will fit the mold. They were a little bit too long, so I spent some time trimming them to fit.


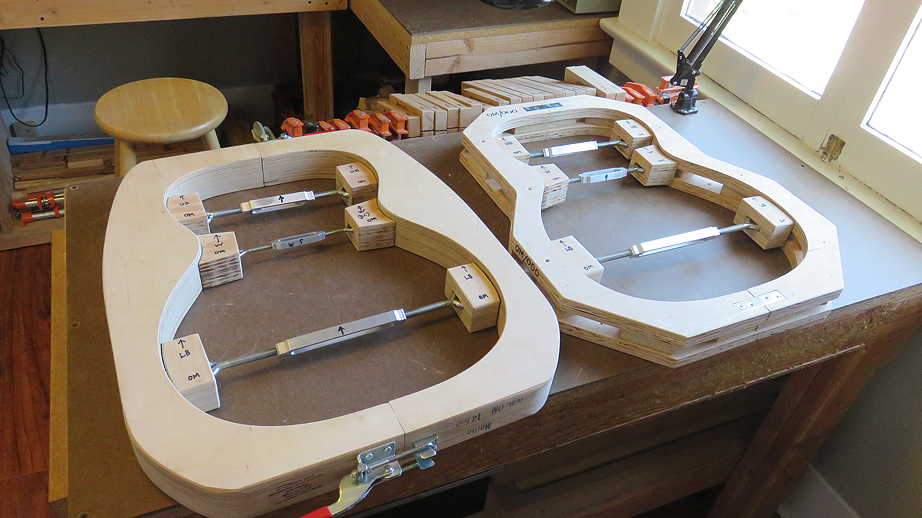
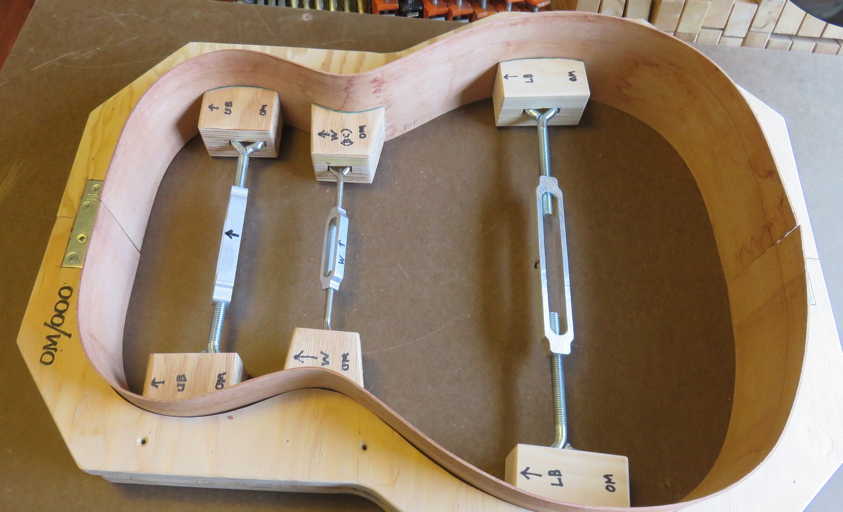
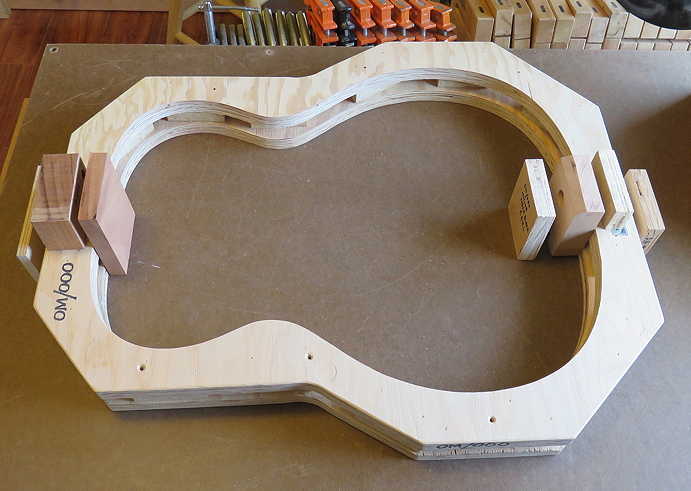
Next, I made some quick clamping cauls for gluing on the neck and tail blocks. The tail block caul needed to be slightly curved to fit the slight curve of the tail end of the guitar.


Finally, no guitarmaking workroom is totally complete without its resident toilet. (I'm having my bathroom remodeled, so the toilet is temporarily being stored here. We'll just have to work around it, I guess!.)


Table of Contents

Next Page