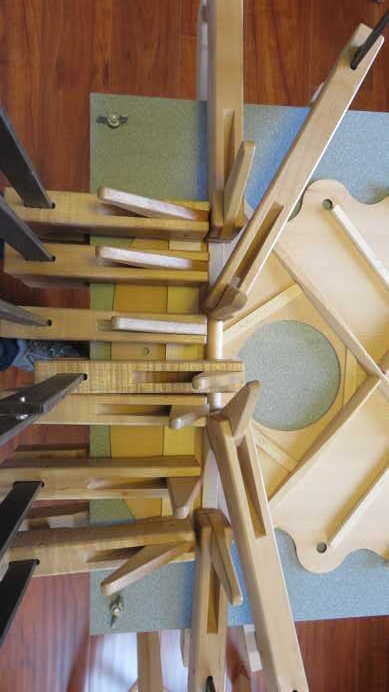
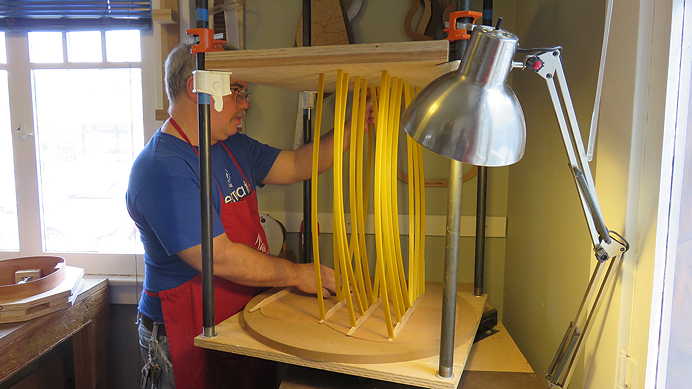
I think Randall likes using the go-bar sticks to glue on braces.
|
|
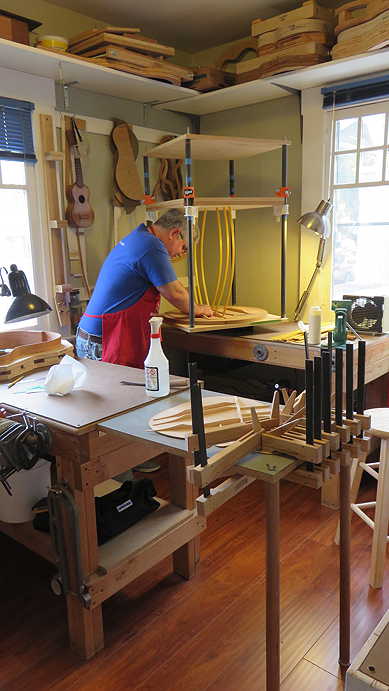
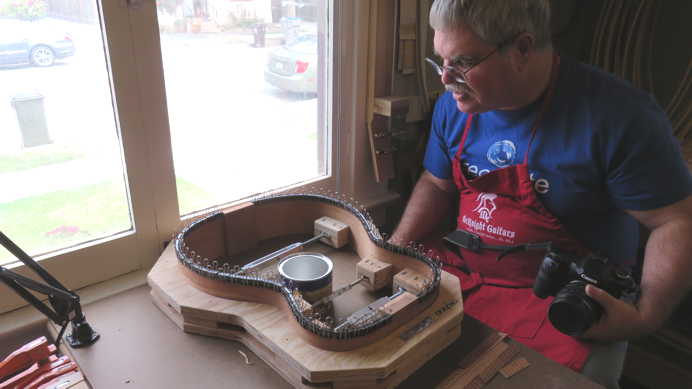
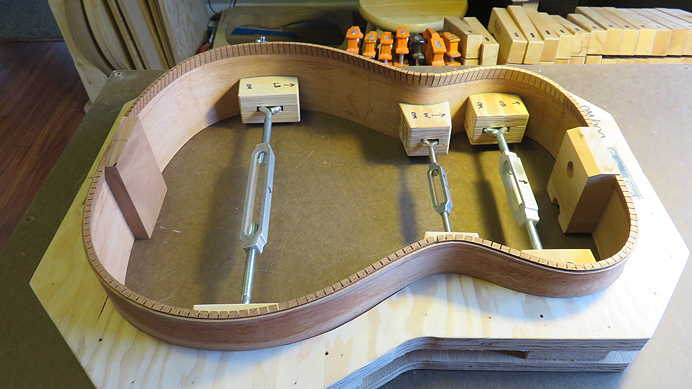
Next is a step I always enjoy, and Randall was a bit surprised that it turned out to be more enjoyable than he had envisioned --- gluing on the kerfing strips to the sides. The triangular-shaped mahogany kerfing strips are glued to the inside top of the sides (here he's doing the kerfing on the back edge of the sides) and provide the gluing surface needed to later glue the back and top to the sides.
|
|
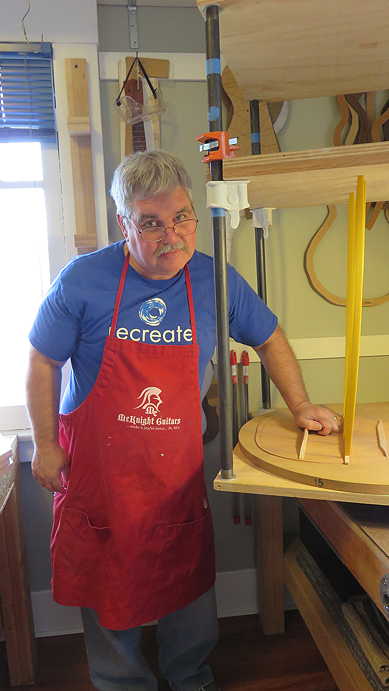
Here's another shot, with Randall's kerfed side set (on the left) next to mine.

|
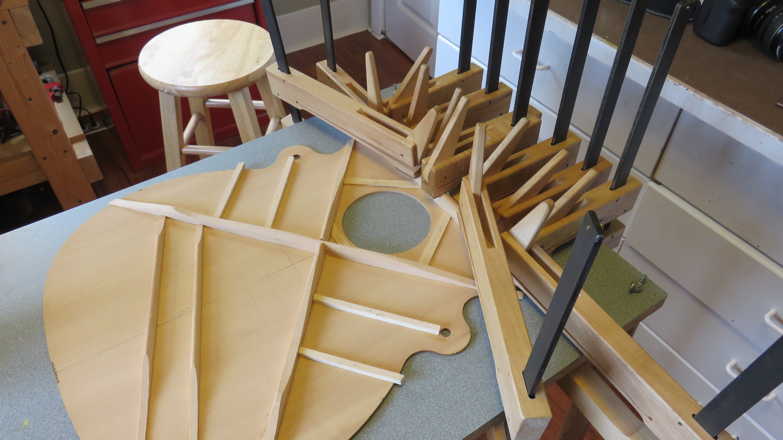
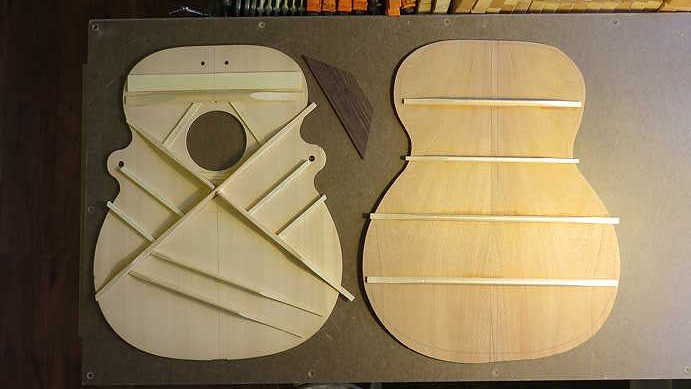
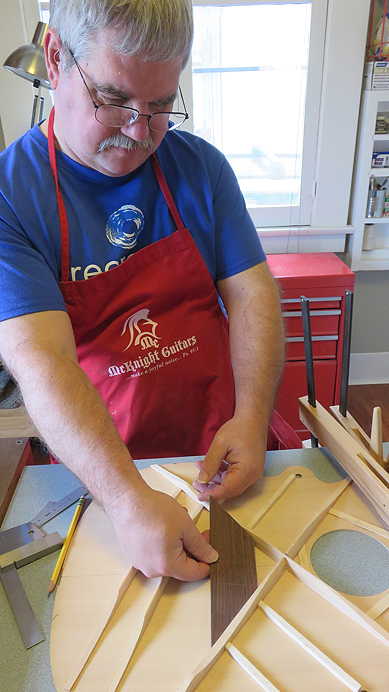
Finally, we needed to make a new bridgeplate (this sits underneath the bridge area), because the one we had with the kit was a bit too narrow (you want to make sure the bridge pin holes will not end up too close to the bottom edge of the plate). I had some scrap rosewood which was just the right thickness (about 1/8" thick) for the job.
|
|
TOMORROW:
Well, that was it for today. Tomorrow (we've decided to have weekly Sunday afternoon and Monday evening sessions), we will glue the kerfing on the other edge of the sides, fit and glue on the center reinforcement strip for the back, glue on the bridge plate, and possibly do a little bit of fretting (no, not worrying or being anxious --- but installing frets into the fingerboard using a fret press).
Morning, Monday, May 18th, 2015:
Just a quick couple of photos of where Randall's build stands at the moment; this morning, I removed the clamps from the kerfing on the back edge, the braced back, and the top's two flat braces.
|
|
|