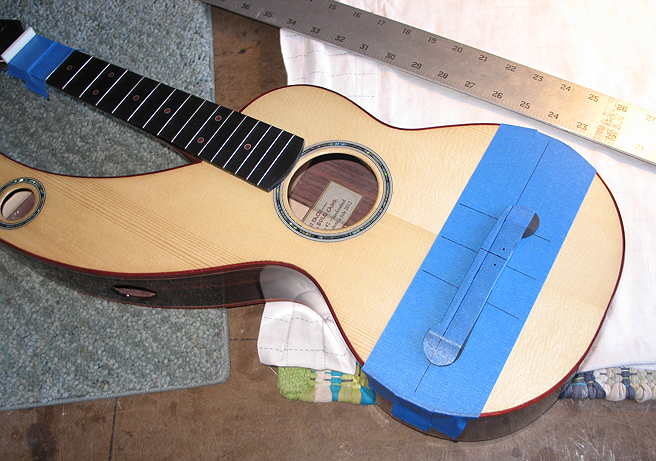
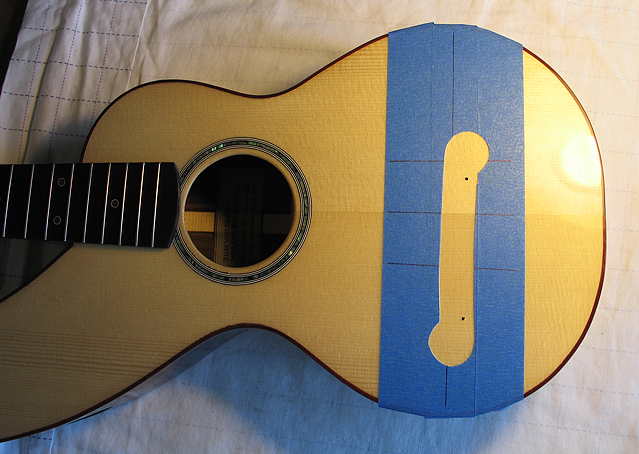
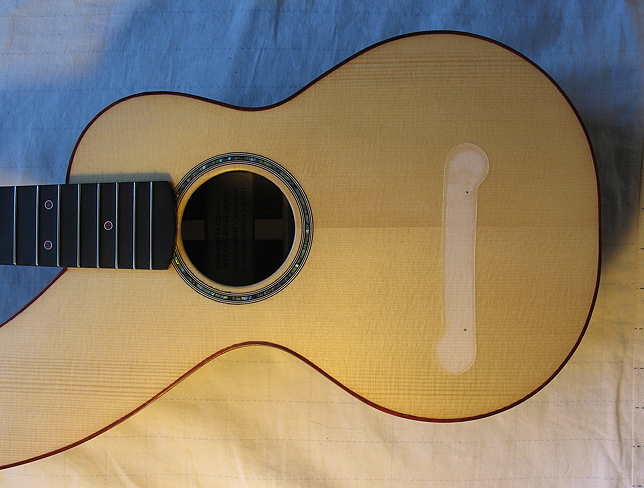
Next, I removed the finish (with Safe-Stripper) just slightly within the scribed lines and sanded it down. Here it is after I have removed the masking tape.
|
|
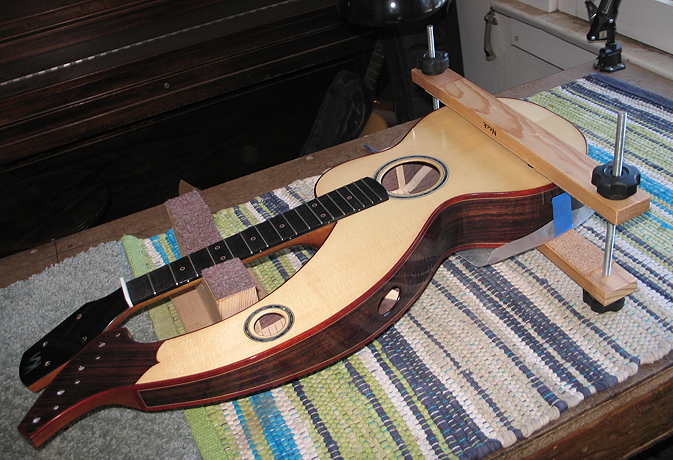
And here I am gluing on the bridge. I first applied glue to both the bridge and the top, placed the bridge on the top with the locating pins, and held it down a little while to let the glue set a bit and to wipe away as much of the glue squeeze-out as I could. Then I clamped it down lightly with this clamp I made a few ukuleles ago. (I drilled a couple of holes in the top strip of wood, so that I could keep the locating pins in the bridge as it set up.)
This is where I'm at right now. I will remove the clamp in a few hours.
|
|
Tuesday, August 14th, 2012:
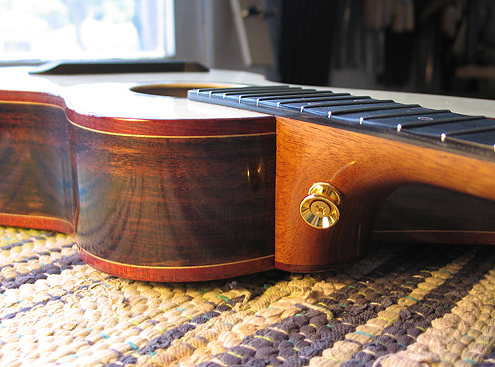
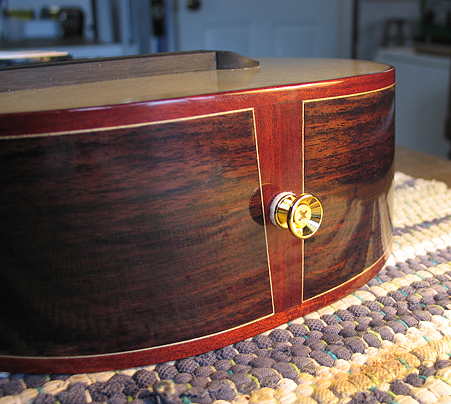
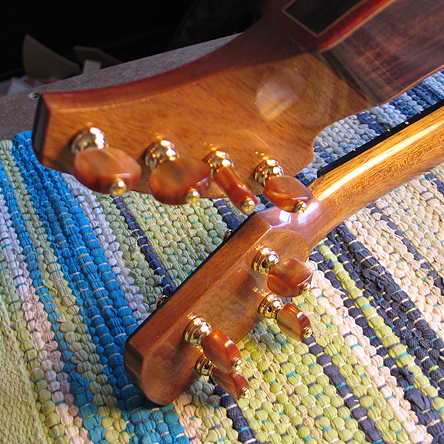
Only a few photos today --- Today I installed the tuners, strap buttons, and made the nut and saddle. As a starting point, I made the nut 1/16" higher than the height of the frets, and the saddle 4mm higher than the top of the bridge.
When I do my set-up, the first thing I do is slot the nut for the four strings, just enough to hold them when I string them up. Then I string them up, and keep filing the nut slots down until they feel comfortable to me when fretting the first fret. (Another way is to press down on the third fret, and check the height of the string over the first fret; it should be just barely above the fret, just enough to "clink" when you tap down on the string.)
Once I am satisfied with the nut slots and the action at the nut, I remove the nut and file it down so that just a little of the slot remains, just enough for the string to sit in it securely.
Next, I put the nut back in the slot and tune the strings up to pitch again. I then check the height of the strings above the 12th fret; I want about 2mm space between the bottom of the string and the top of the 12th fret. Anything over that 2mm, I multiply by 2 --- that tells me how much I need to remove from the bottom of the saddle.
I ended up removing 1mm from the bottom of the saddle, and the action turned out really, really nice! No buzzes and a nice, low action. One of the few times I've had the action turn out so nicely, in fact! I had about 3mm of saddle poking out of the bridge. |
|
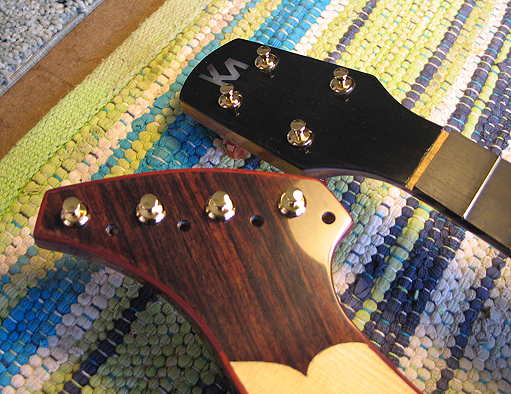
After I had the tenor uke set-up all done, it was time to work on making and slotting the harpbox nuts, so that those four bass strings ended up at the same height as the four tenor uke strings. Here's where I created a little repair job for myself --- in trying to slightly enlarge one of the holes for the harpbox nuts (made of white bone bridge pins slotted and cut short), I managed to chip out a small piece of the rosewood just below the hole. The chip-out was about 1/8" by 3/16". Luckily, I was able to find the chip; most of it had stayed intact. There were some edges missing, though.
I got mad at myself first, then calmed down, and set about figuring out how to fix it. I glued down the chip into its spot as best I could, waited a bit, and then sanded it and all the rest of the harpbox's rosewood peghead surface) as smooth as I could, filling in the missing edges of the chip with some glue and rosewood dust. I used a tiny bit of medium-brown stain to touch up one section which was too light. Then I brushed a few coats of the finish (EM6000) to the repaired area, using a heat gun on its very lowest setting to help it dry so I could apply more coats more quickly. I then brushed a few coats of the EM6000 to the entire rosewood peghead surface, to kind of even it all out. I'm going to let it sit overnight and will level it out and polish it up tomorrow. Hopefully it won't end up being too noticeable!
Then I can continue on with setting up the bass strings.
|
|