Thursday, June 14th, 2012:
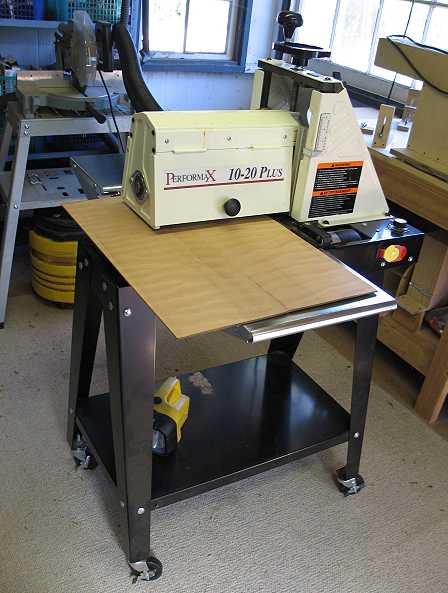
Today it's time to work on the top and the back. The first thing I did today was to scrape off the glue squeeze-out from the top and back seams, and then thickness sand both plates (using my Performax 10-20 thickness sander). The top I only thicknessed enough to have a smooth enough surface to draw upon; it will be sanded to its final thickness later on, after I have installed the rosette. The back I thicknessed to about 2mm.
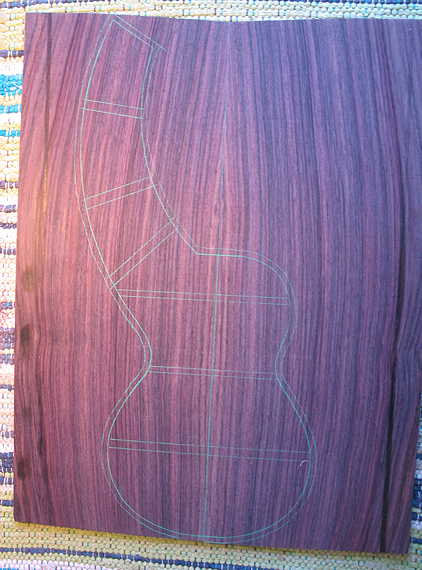
(1) Here I have drawn the outline and brace positions for the back, using the hardboard templates I had made last summer. |
|
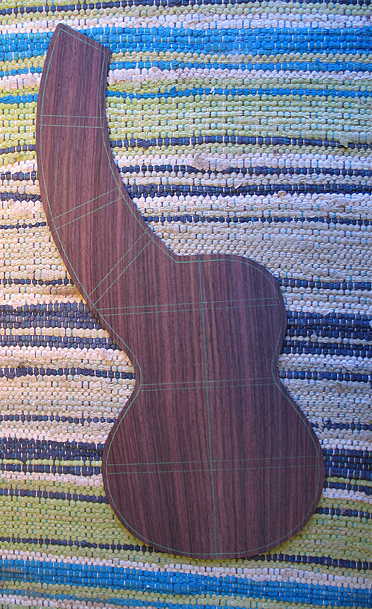
(2) Here, using my bandsaw, I have cut about 1/4" outside of the back outline. |
| |
|
|
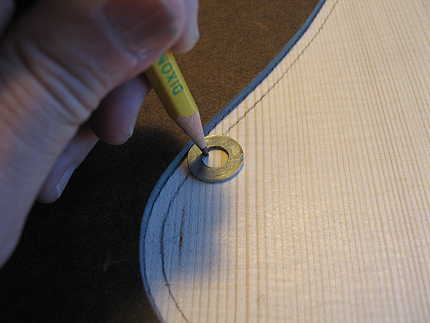
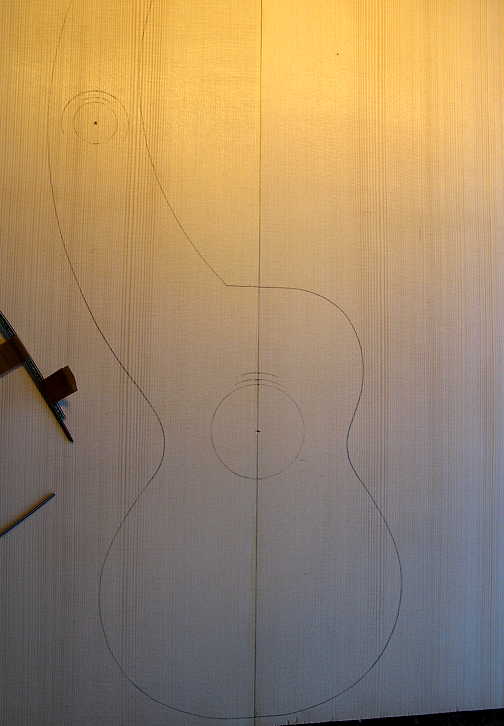
(3) Here's the method I used to draw the cutting line for the top. I just run a pencil in a washer along the edge of the hardboard template. (I won't actually cut the top out until after I have finished the rosette, as I like to have more surface area when using the Stew-Mac router base for the Dremel to rout out the rosette channels and soundhole.) I didn't use this method for the back because I only thought of it later! Duh! |
|
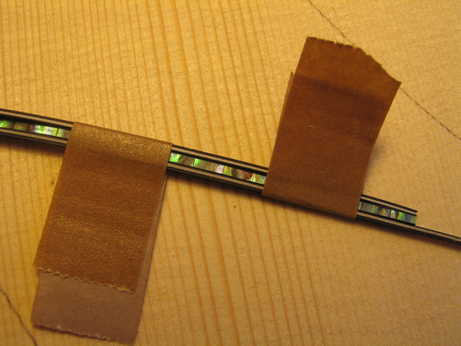
(4) This was my original plan for the soundhole and harpbox rosette, just a Zip-Flex paua abalone strip, sandwiched between two BWB plastic purfling strips. |
| |
|
|
(5) I first marked the lines for the rosette channels.
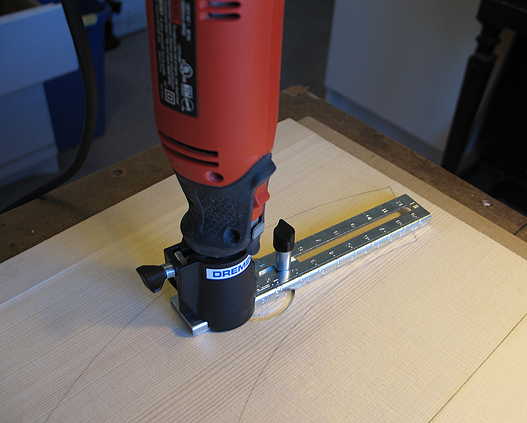
(7) This Dremel circle jig is what I used for these smaller size soundholes. (My Stew-Mac soundhole routing jig doesn't rout holes smaller than 3" diameter.) |
|
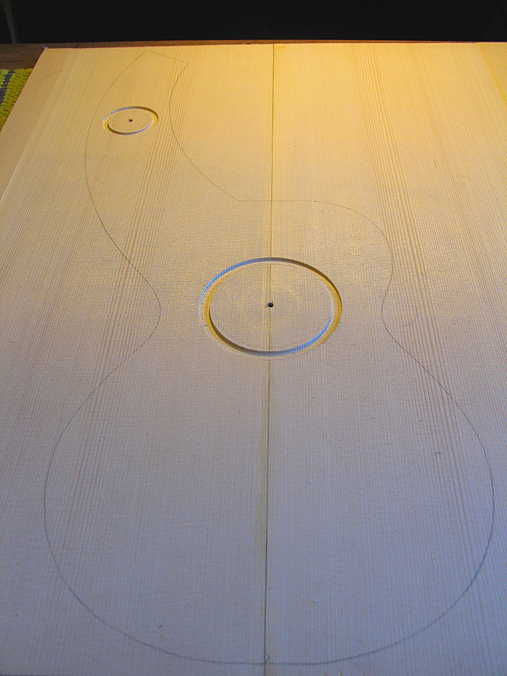
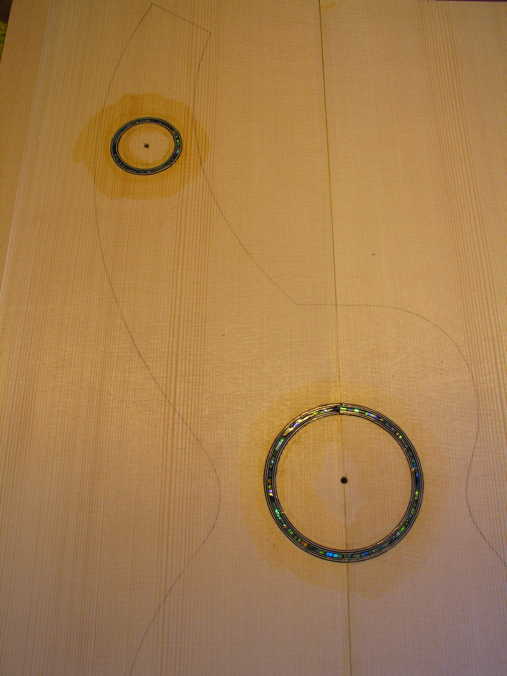
(6) HOWEVER, in routing the main soundhole rosette channel, I miscalculated somehow, and the channel ended up being a little too wide. SO...I decided to add a couple of white/black purfling strips on the outer edges. Actually, now I think it looks somewhat nicer than the original thinner rosette strip!
The harpbox rosettte, however, follows the original design (narrower channel).
|
| |
|
|
|
|
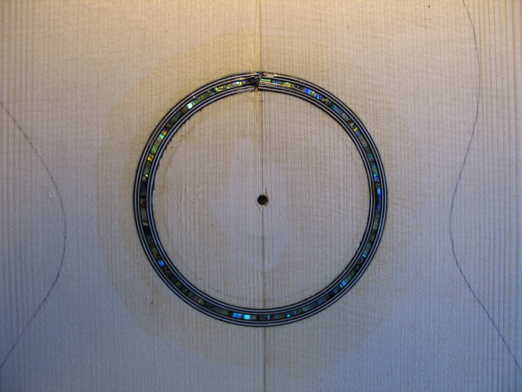
(8) SO....to the left you see the final product of the day. I inserted the abalone and purfling strips into the channels, after first sealing the spruce in those areas with shellac (so the superglue won't wick into the spruce and cause staining). Then I wicked superglue into the rosette.
That's enough for today. Tomorrow I'll sand it down and thickness the top to its almost-final thickness.
|
|
|