Still Saturday . . .
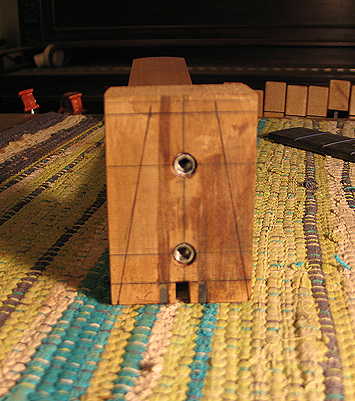
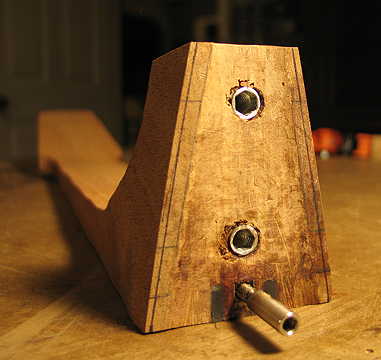
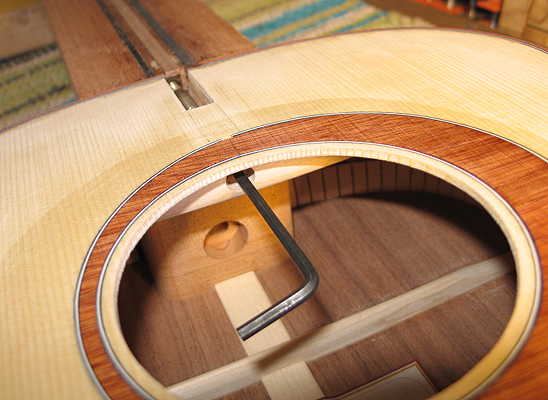
Next, I wanted to check to see that I can easily access the truss rod adjustment thingy with my allen wrench (9/64"). Everything lines up nicely...Yay!

|
|
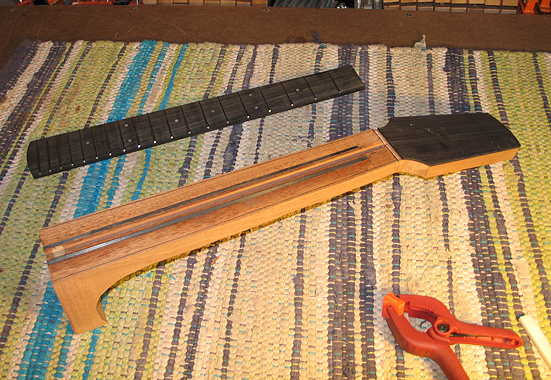
The next thing I needed to do was to prepare the nut and peghead veneer.
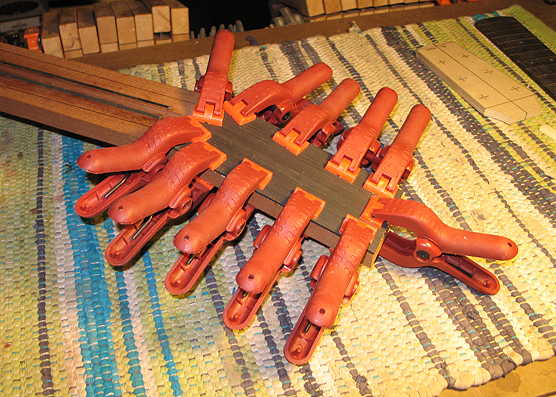
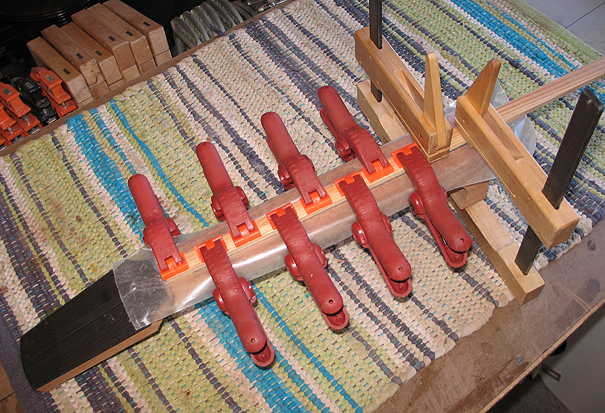
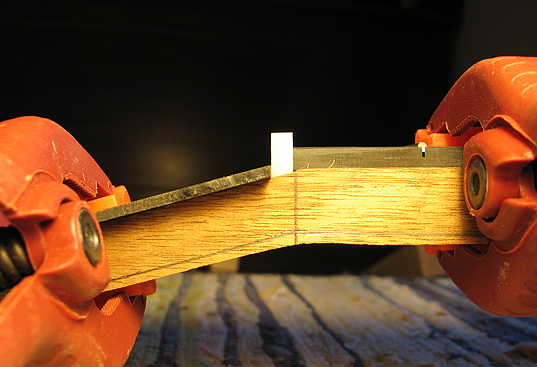
The nut is 3/16" thick. With the fingerboard clamped in its proper position, I sanded an angle into the bottom of the nut, so the nut would stand flush against the fingerboard end and match the back angle of the peghead.
Then I thickness-sanded my ebony veneer to a final thickness of 3/32" and sanded an angle into the end which would butt up against the nut. The ebony veneer will later be glued in this position (leaving a nice, tight space for the nut) onto the mahogany peghead.
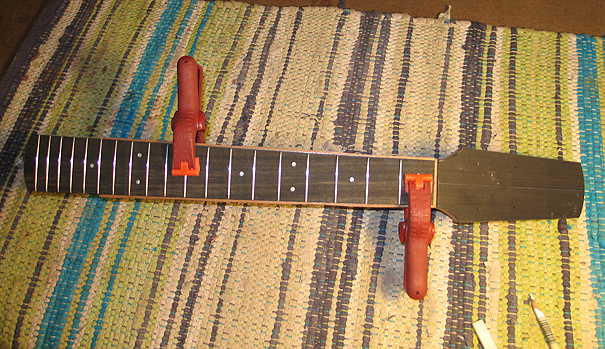
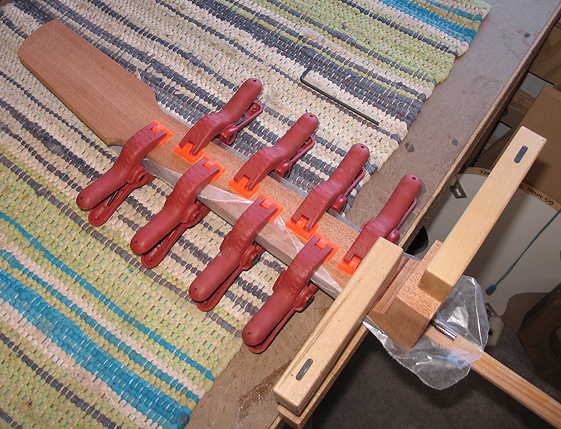
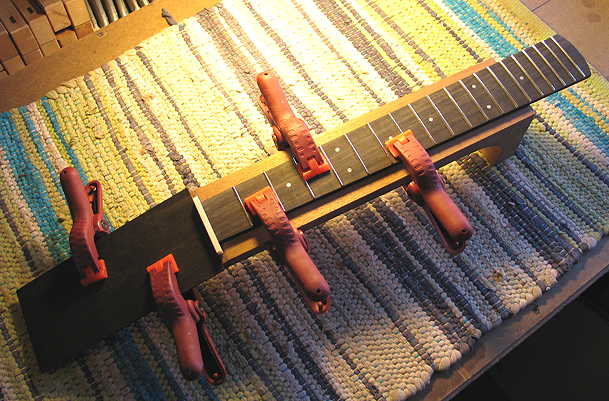
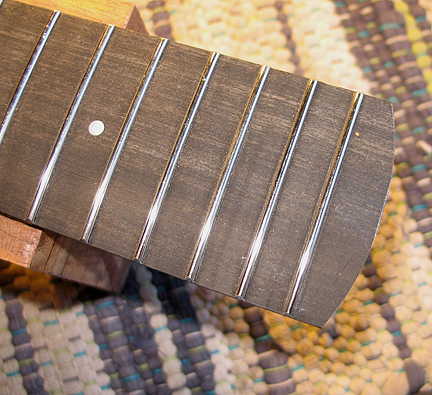
With the fingerboard clamped in its position (centering it on the neck blank), I traced its outline onto the neck blank surface, leaving the outline you see in the photo to the right.
|
|
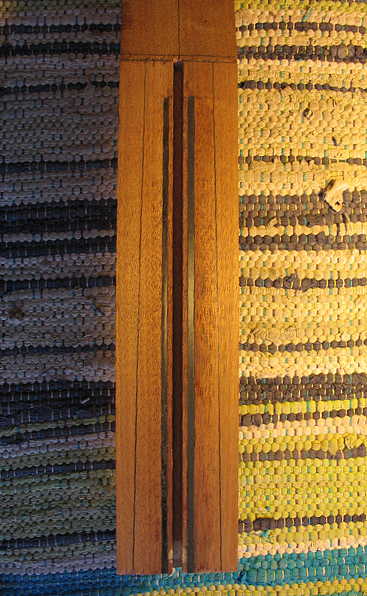
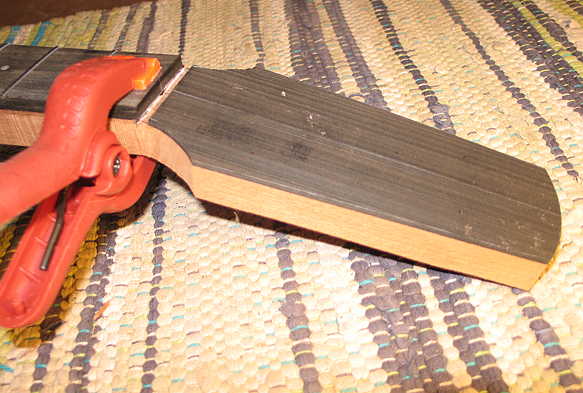
I trimmed and rounded the fingerboard end, so that it would just cover the upper part of the soundhole rosette (where there is a gap and seam).
|
|
Later, after gluing the veneer to the peghead, I will affix the peghead template to the peghead by drilling a couple of 1/16" holes at the tuner positions; I will use some bamboo skewers I have to affix the template at those holes. I will then trace the template outline onto the veneer. I will remove the template, and use my bandsaw to cut close to the line. Finally, I will reattach the template and use my RoboSander to sand the peghead flush to the template.

|