|
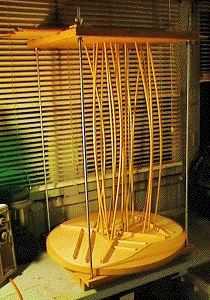
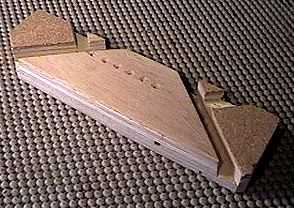
Here is the top in the go-bar deck. The top is placed upon a hollow radius form with a 25-foot radius, to form a slight arch in the top. I have already glued most of the braces in the go-bar deck already, and I'm now gluing the maple bridge plate and soundhole reinforcements. |
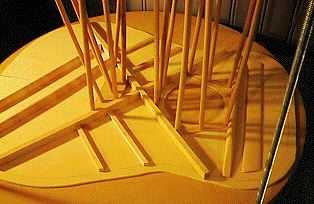
This is a close-up view of the top in the go-bar deck. The braces have not been shaped yet. |
|||
|
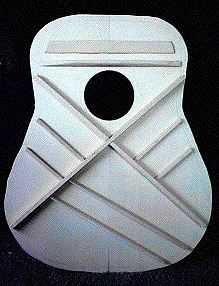
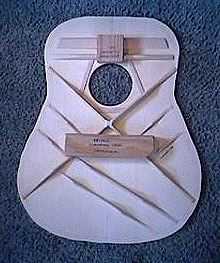
The top, after the main braces have been glued (before the photos above were taken). |
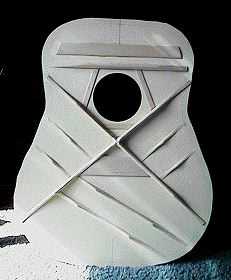
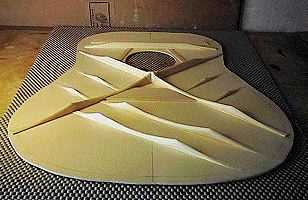
Here is the top, completely braced. I have also finished the scalloping of the braces. |
|||
 |
I have to make a clamping caul to use to support the underside of the top, when it comes time to glue the fingerboard extension. This must be done, obviously, before I close up the body. (I nearly forgot to do it!!!) So, here it is. I have chiseled out channels for the fingerboard brace and for the upper flat brace. |
|||
|
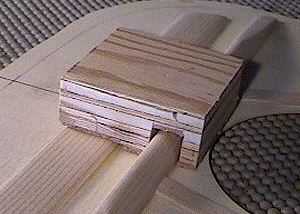
Here is the bridge gluing caul. |
Here's the fingerboard extension caul, placed into position. I have covered all the contacting areas with thin cork, to protect the delicate top. |
|||
|
Here are both cauls in position. |
Go To...Return to Projects Home Page |