THE SOUNDBOX

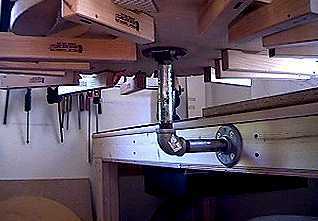
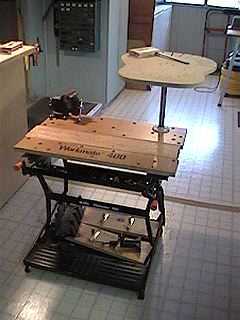
July 16, 1999 . . . . I have found another use for the pipe flanges I had already attached to my workbench (for the guitar vise). Using a 90° ell and a couple of short pieces of pipe, I could attach my old guitar workboard. I used to attach this workboard in other ways, on a 3-foot pipe attached to another workboard and also attached to a Workmate. It has come in very handy!

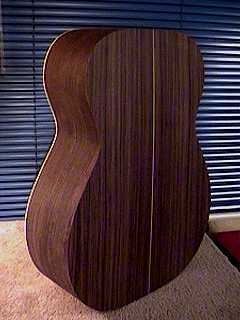
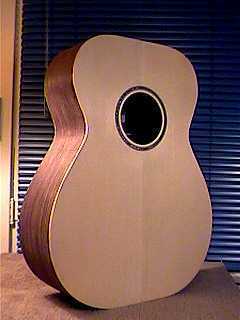
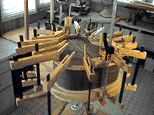
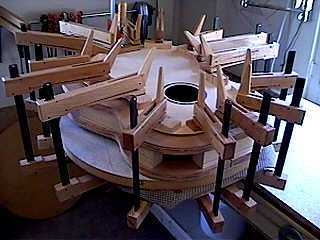
Here I am using the workboard to glue the top to the side set. I have placed my 15-foot hollow radius form (for the back arch) on top of the guitar workboard. Then I placed my mold with the side set on top of that, back side against the radius form. I positioned the top on top of the side set (after first having sanded down the kerfings for the back and top arches, notched the kerfings for the braces, and drilled for tiny toothpick indexing pins through the top into the neck and tail blocks). When I was certain that the positioning was right, I spread a bead of glue on the top kerfings, set the top onto the sides, and clamped it all down, using scrap blocks for cauls.


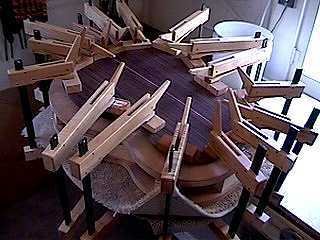
July 17, 1999 . . . . To the left, I am using the same process to glue on the back. I have put a piece of carpet underneath the top to protect its delicate surface as I clamp the back.

And now . . . . I have a soundbox ! ! !


July 17, 1999 . . . . Well, after about three hours, I took the soundbox out of the mold and trimmed the overhang of the top and back with my micro-drawknife. Then I sanded the sides to make the top and back edges really smooth and flush to the sides.

I don't know if you can see it here, but in trimming the top overhang, I managed to pull out a little bit of spruce right near the top shoulder, on the treble side. Hopefully (and it's pretty close!) my binding and purflings will cover most, if not all, of that tear-out.


Also, it's hard to tell by this photo, but I have made this Size 00 a bit deeper in the body than most....it has the same depth as a dreadnought --- almost 4" at the neck end and 5" at the tail end. The increased depth might help bring out more volume.

I really love it when the soundbox is completed -- it feels really solid, and I can really believe a guitar is on its way! I like to rap on it with my knuckles to listen to the sound the box makes! Also, I can finally get a sense of what this size guitar will feel like. I think I like it!


Coming up next . . . putting in the end wedge and routing for the bindings and purflings!!!


 GO TO.....
  1. Intro Page
  2. Making the Mold
  3. Making a Side Bending Form
  4. Side Bending!
  5. The Side Set
  6. Beginning the Neck
  7. Top
  8. Back
  9. Soundbox
  10. Binding
  11. Fingerboard
  12. Finishing the Neck
  13. Finishing
  14. Nearing the End...
  15. Stringing 'er Up!!!


Return to Projects Home Page