A Martin-style Size 5 Guitar!!!
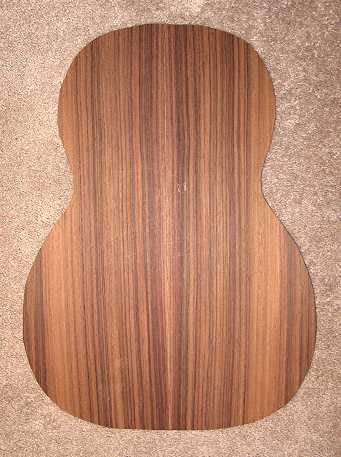
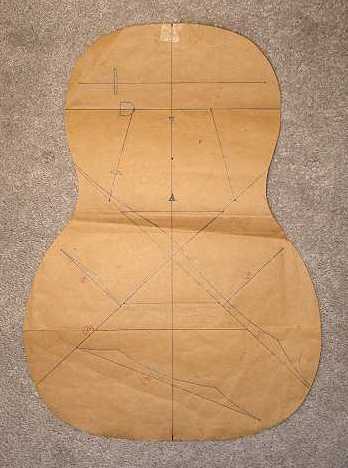
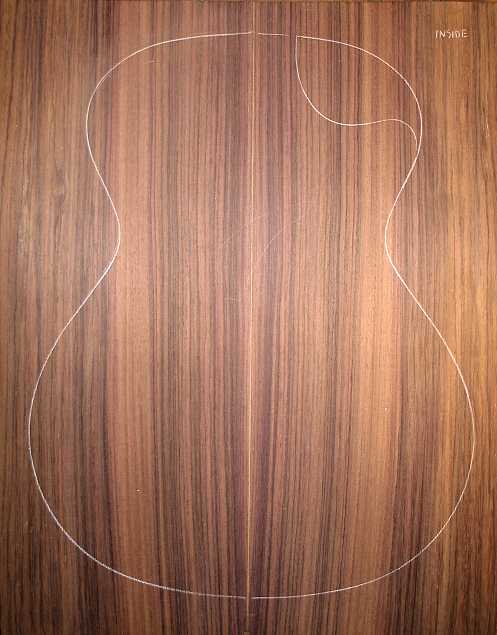
Monday, June 15th, 2009: Well, school's out, and I'm back! In the past two summers, I built a classical and a steel-string Grand Concert cutaway. They came out really well, and I decided I wanted to build a little Size 5 guitar to round out my personal collection! I haven't built a Size 5 for many, many years (I think the last one I built was in 2000). I just love how much sound comes out of this very small guitar! Saturday, June 20th, 2009: Sorry for the delay in getting back to this project! I spent the past few days doing some odd jobs around the house — things I'd been neglecting for a while, like cleaning, dusting, reorganizing, etc. But it's now all clean, and I feel a whole lot better. (I'm the type of person who can't work well with mess around her.) Today I organized my materials for this project. Actually, back in April, I had ordered materials I didn't already have in hand, in anticipation of starting up this project right when summer started. So, now I'm ready to begin! I've already cut out the top (Engelmann spruce) and back (East Indian rosewood) — I did that last summer, when the original top and back for last summer's Grand Concert cutaway had ended up a little too thin at the outer edges (due to a misadjusted thickness sander). I salvaged them by deciding to use them for my future Size 5. To the right is the back for my Size 5. Also to the right, is the bracing plan for the top. I've had this plan ever since my very first guitarmaking days! The very first guitar kits I ordered were from a one-man company called the Kit Factory, way back in 1994; these kits were for a Martin-style dreadnought and a Martin-style Size 5. (Ed, the owner, has long since gone out of business, for health reasons; it's too bad, too, because he was really helpful and had included quite extensive printed instructions along with his kits.) The only other resource for the Size 5 style I've found since is Scott Antes's plan for what he calls a "3/4 Size" guitar, available at Luthiers Mercantile. It's a full blueprint, with specifications for every aspect of this guitar style. THE SIZE 5's DIMENSIONS (approximate): Body length = 16", Upper bout = 8-1/4", Lower bout = 11-1/4", Waist = 7", Body depth at tail = 3-7/8", Body depth at neck = 3-1/8", Scale length = 21.3" (I cut off a pre-slotted, 16" radiused 25.34" scale fingerboard at the 3rd fret.), 12th fret at body. Here's my plan of attack: (1) Do the rosette (I plan to do a BWB inner ring and a BWB/paua abalone/BWB outer ring). (2) Thickness-sand the top to its final thickness, and then cut out the soundhole. (3) Make, glue on, and carve the top bracing (Carpathian spruce). (4) Thickness-sand the back to its final thickness. (5) Make, glue on, and carve the back bracing. (6) Thickness-sand, cut, and bend the sides. (7) Trim the sides to length. (8) Make and glue the neck and tail blocks to the sides. I think that's enough planning for the time being — after all that come the much more difficult tasks — the fitting of the top and back to the sides, the binding, and the neck! |
|
|
|