The 2nd Violin

Saturday, May 17th, 2014:

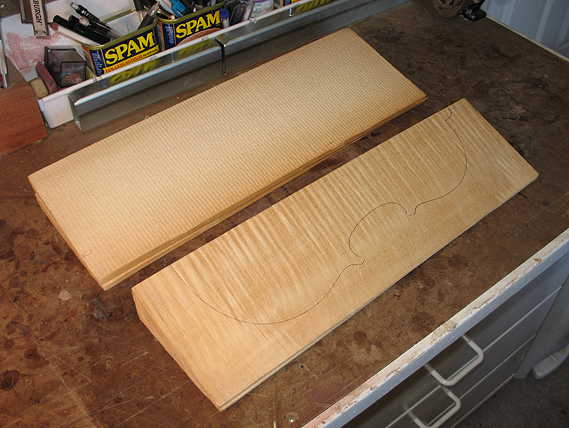
Below you see some extremely well-aged maple, which I have let sit in my workroom for 13 years. I think the wood is ready to be worked now.

Actually, this is a set of violin ribs which I had bent and glued to the blocks way back in the fall of 2001, after I had just finished building my first (and only) violin in the summer of 2001. I was so jazzed by the building of the first violin, that I just had to start a second one!

However, school got in the way of continuing this build, so I set it aside, telling myself I'd get back to it the next summer vacation. By the time summer came around again, some other project caught my fancy, so, again, I set this 2nd violin project aside. And so it went --- as each summer approached, I would tell myself I'd get back to the violin --- and, when summer finally arrived, I had changed my mind again!

But now I think I am finally ready to come back to this project. I feel a need for a change of pace from building another guitar or ukulele. I no longer have that first violin (long ago, I had given it to my niece, who was learning to play the violin at that time) and would like to have one of my own again. Thus, the resurrecting of this long-postponed project . . .


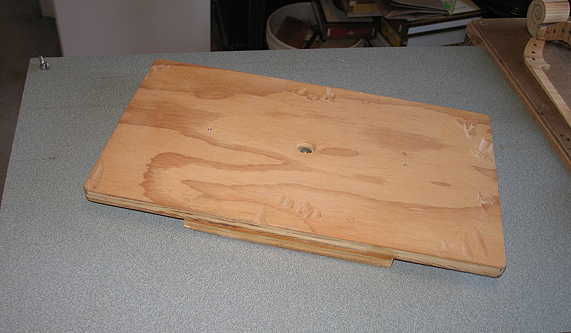
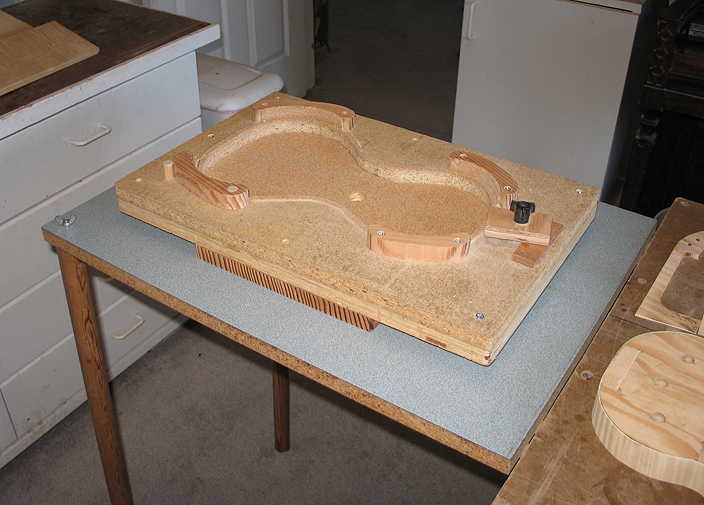
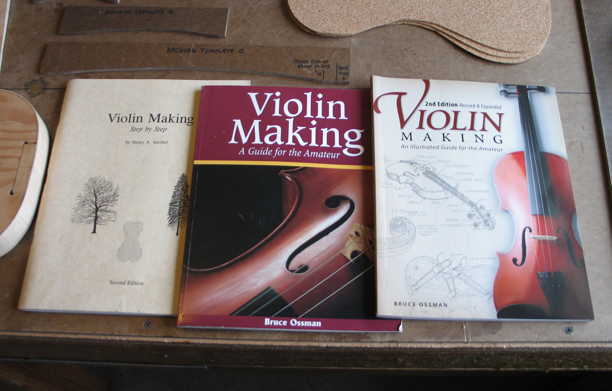
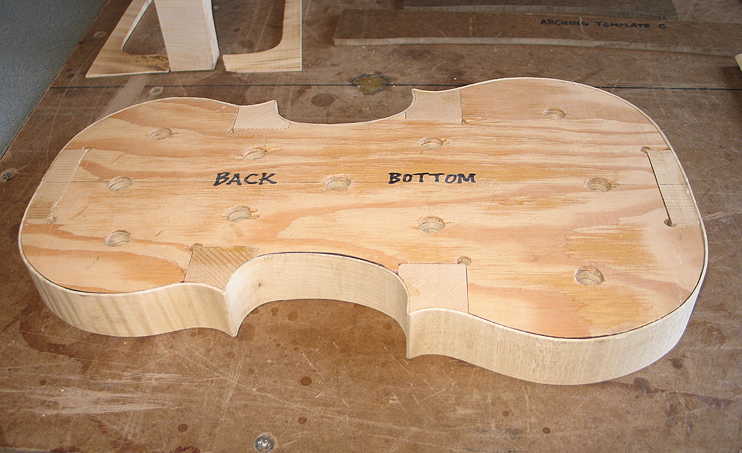
So, today I pulled out all my old violin-making supplies, jigs, and carving templates. Here they are:

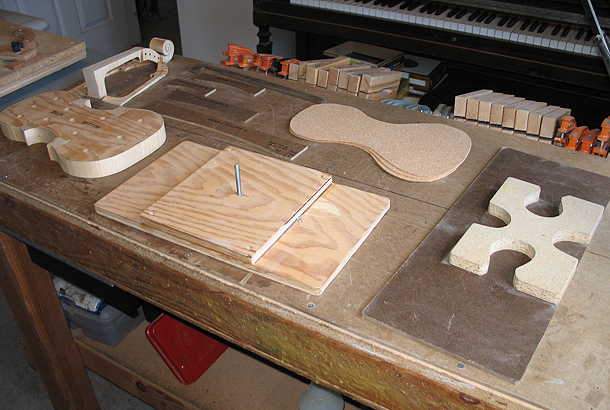
(As you can see in the upper left-hand corner of the workbench, I had already bandsawn out the basic neck blank. That, and the rim set you see to the left, are the only parts of the build I have done so far.)


Here are the very well-seasoned maple and spruce blanks for the back and top:


Here is the cradle I will use for carving the outer sides of the top and back plates. You can't really see it here, but there are two wood screw tips protruding from the center portion of the cradle. These will be screwed into the underside (the inside) of the top or back plate, to hold it in place as I carve the outside of the plate. That way, nothing will be getting in my way as I do the carving.


Here is the holding cradle I will use for carving out the inside of the top and back plates. The already-carved outside of the plate will lie against the cork-lined cavity, and the edges will be clamped securely by the various fixtures on the sides of the jig. The clamp you see in the lower-left corner of the jig is the only movable one; sliding a wedge between it and the dowel standing beside it will firmly clamp the plate in the jig.


Both of those holding cradles can be swiveled around to whatever position I want. Below is the clamping knob I use to loosen and tighten the holding cradle into the position I need.


Finally, here are the books I will be using for reference and instructions. The middle one was the one I basically used for the building of the first violin (the Henry Strobel one on the left was more a reference than a step-by-step guide for me). The book on the right is Bruce Ossman's second edition of his book. It will be interesting to see what kinds of differences there might be in this one, compared to the first edition I had used.


Table of Contents

Next Page