|
|
|
|
|
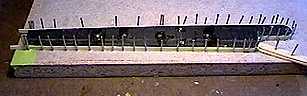
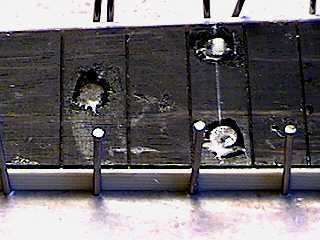
I also glued the binding (ivoroid, .040" thick) onto the fingerboard, using superglue at the tight curves and the miter at the bottom end of the fingerboard, and Duco cement on the rest. I followed Siminoff's method of using nails to hold the binding in place. Holding the binding in hot water, as he suggested, made doing the curves easy.
|
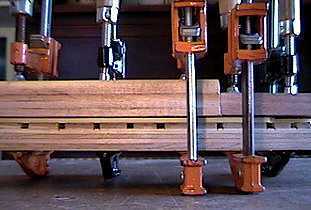
July 10...Today, after sanding the epoxied fingerboard dots down level, I spent some time fretting the fingerboard. Since the frets needed to overhang the binding, I used my fret tang nipper to cut the fret tang short of the binding. Below, I am clamping the fingerboard between two boards, to try to straighten it as much as I can, as fretting a fingerboard creates a bow in the board. (I forgot to take a photo of the fretted fingerboard --- you'll just have to wait until I take the fingerboard out of this clamping setup!)
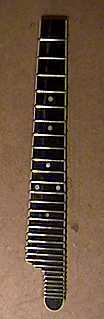
Okay......look to the left....the fretted fingerboard!!! <----------------(I still need to file the fret ends, though....) |