February 2006 Project:

A Cigar Box Ukulele!!!

Well, I couldn't keep myself from building something . . . . so here's a really quick account of what I have spent the last few weekends doing. It took two weekends to actually build the thing, about five days of applying a Tru-Oil wipe-on finish, and one day to install the tuners, make the nut & saddle, and set it up.
 

My inspiration for this project was two-fold: I have enjoyed the last few ukuleles I have built, and I gained all my "how-to's" from John Mayes' excellent DVD on how to make a cigar box uke. I had also just recently discovered this little cigar shop around the corner from where I live, where I'd seen stacks and stacks of empty cigar boxes through the window whenever I'd pass by.


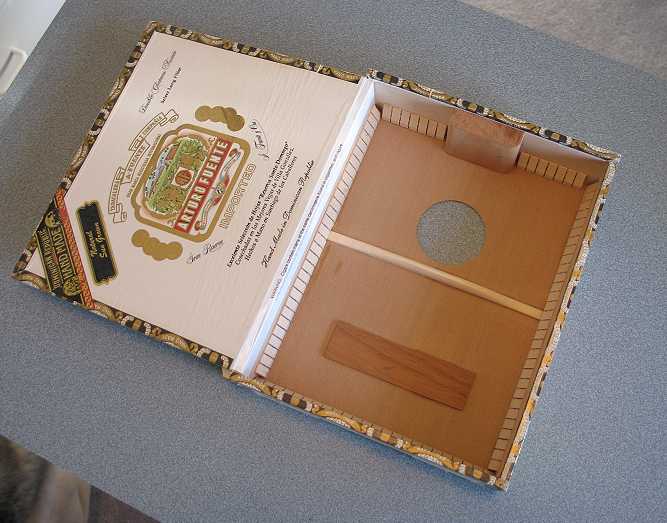
This box measures 9-1/4" long, 7-1/4" wide, and 2-1/4" deep. The first thing I did was to carefully remove the bottom (non-lid) plywood back of the box. To do that, I had to first slice through the paper between the back and sides, using an Exacto knife. Then I removed the staples that attached the back to the sides.


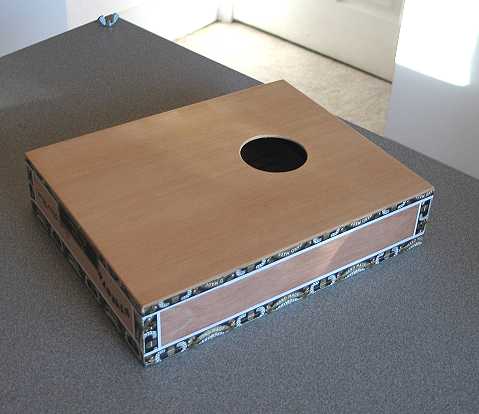
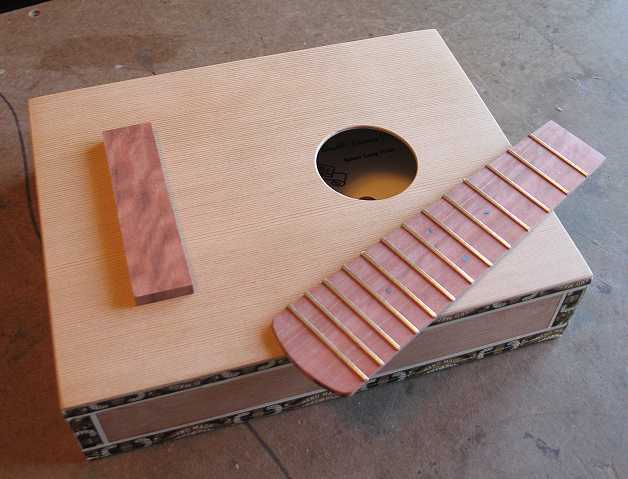
Next, I cut the Western red cedar top to the dimensions of the box. I thickness-sanded it to 1/16". The 2" diameter soundhole was cut out with a fly-cutter on the drill press, with the center of the hole 3" from the neck edge of the top.


THE TOP: After the soundhole is cut out, I have glued a 1/4" thick, 5/8" tall spruce brace onto the top, so its center is 3/8" from the edge of the soundhole. The 1" by 4" mahogany bridge patch is glued onto the top, so the center of the saddle will fall at the 13-1/2" scale length. (I will place the saddle approximately 1/4" from the top edge of the bridge plate.)

THE BOX: As you can see, I have glued kerfing on the sides, with the top of the kerfing flush with the edge of the back. On the box, I have glued in a mahogany neck block, which is 1/2" thick and 2" wide, flush with the kerfing's top and trimmed so that the box's lid will sit atop it.

Once all this is done, I glue the top to the box, using blue masking tape (so I can easily remove it from the box's paper) to clamp it down. For all of this gluing, I have been using Titebond (Original).


Here you see the bridge blank (don't worry --- it's not glued yet, just placed at its approximate future position) and the fingerboard after I have slotted and fretted it. I have inlaid 1/16" abalone dots into the fingerboard. This is a soprano scale length (13.5", 6-3/4" from nut to 12th fret). I have tapered the fingerboard so that it is 1-3/8" wide at the nut and 1-3/4" at the 12th fret. The fingerboard will meet the body at the 12th fret.

Go to Next Page