GLUES: |
|
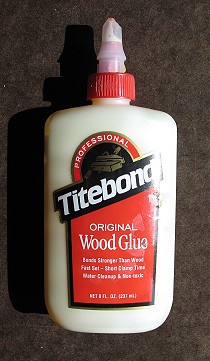
| Original Titebond only!!! | |
| For gluing on plastic bindings/purflings | |
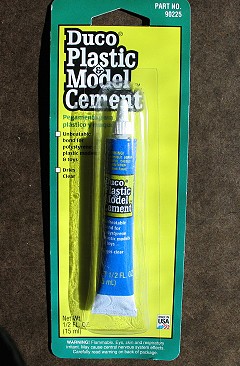
| For gluing on plastic bindings/purflings | |
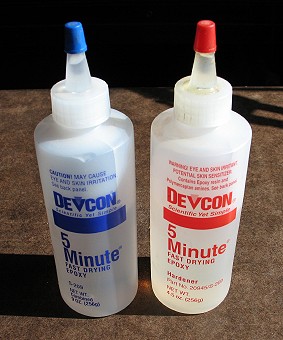
| For gluing inlays — I use the 5-minute kind | |
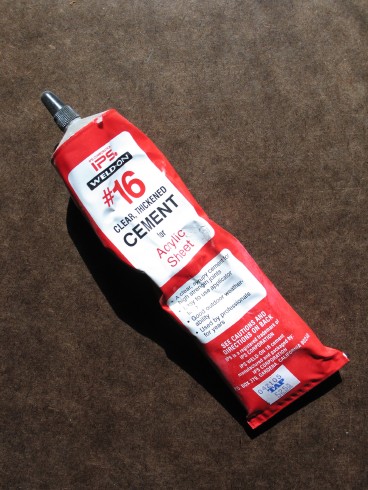
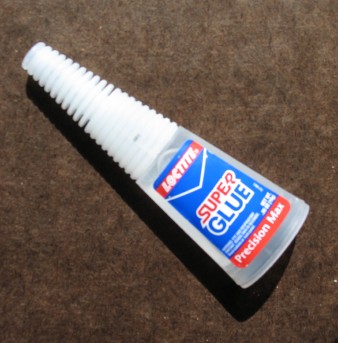
| For gluing fingerboard marker inlays, gluing bindings | |
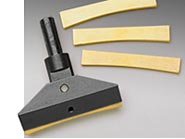
| This is the one with a roller on the lid --- very, very helpful!!! | |
| For spreading Titebond | |
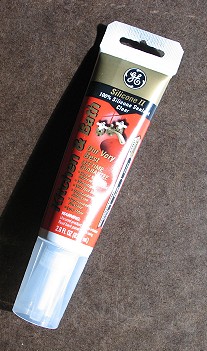
| A few dabs to cushion a truss rod so it doesn’t rattle |
MISCELLANEOUS TOOLS: |
|
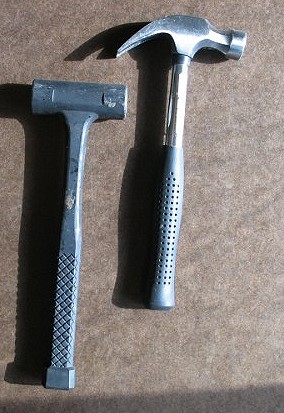
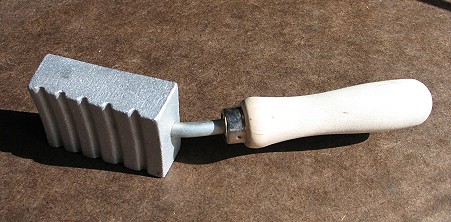
| Deadblow (for pounding in frets) & regular hammer | |
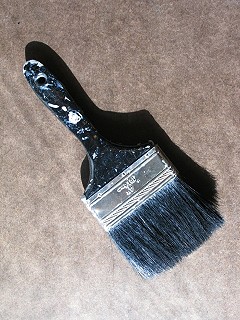
| For dusting off things | |
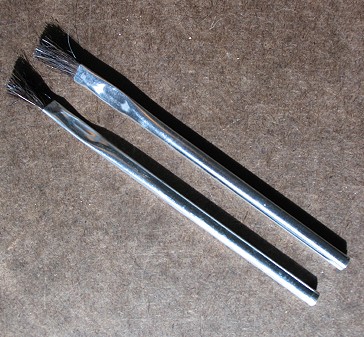
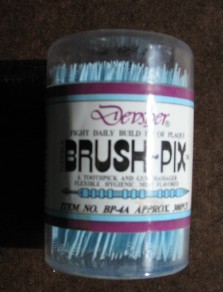
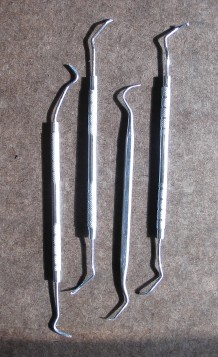
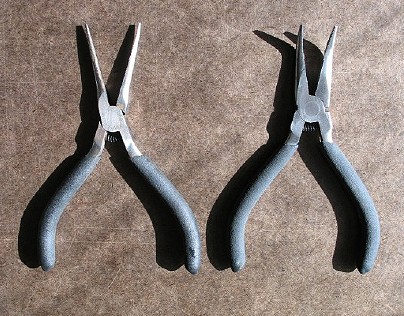
| For applying tiny dots of glue, Superglue, epoxy | |
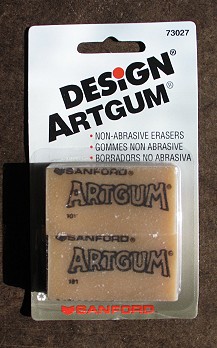
| Great for use as little sanding blocks!!! | |
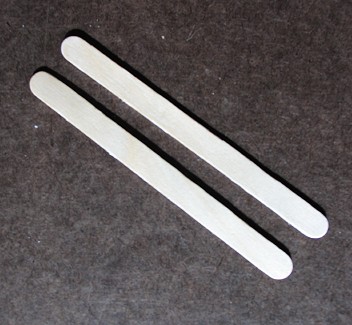
| For mixing epoxy | |
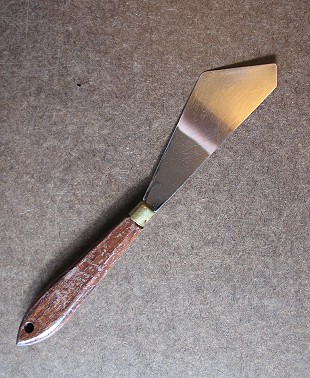
| For removing bridges, fingerboards (you can get these at any art supply store) | |
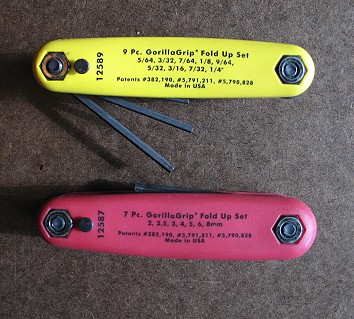
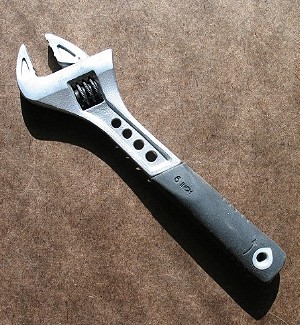
| For truss rod or bolt adjustments | |
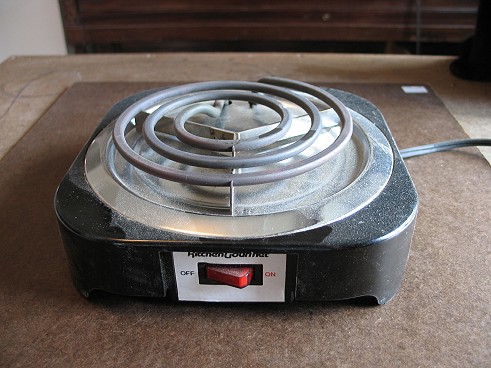
| For heating up the SM fingerboard heater tool | |
| For removing fingerboard tongues and bridges — heat it on a hot plate | |
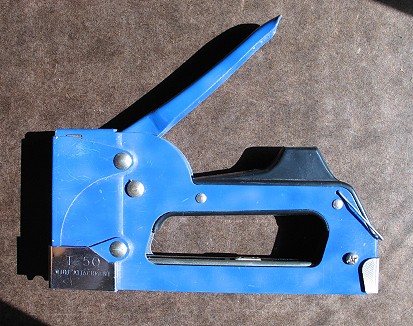
| I shoot a few staples into the underside of the fingerboard, then cut them off, so there are just stubs showing — this helps locate the fingerboard on the neck when gluing, so it doesn't slip around. | |
| For use in drill press -- for pressing in frets, instead of pounding them in | |
| For use in drill press -- for thinning plates | |
| For use in drill press -- for thickness sanding/template sanding small parts | |
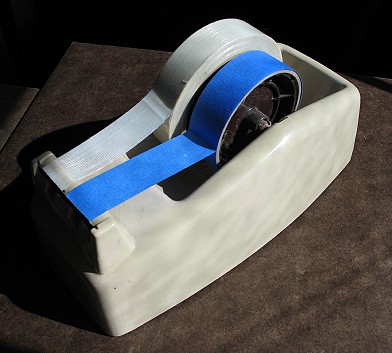
| Very handy – no longer do I need 2 hands to get a piece of tape!!! It's nice and heavy. | |
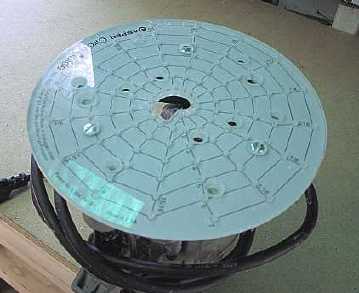
| For use in regular router – routs circles from 1” to 7-1/2” diameter | |
| I have a 16” radius one --- for radiused fingerboards | |
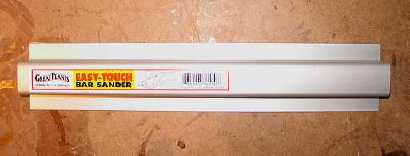
| From my local hobby shop – for leveling frets | |
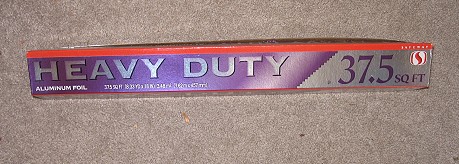
| To keep glue from sticking where you don’t want it to!!! | |
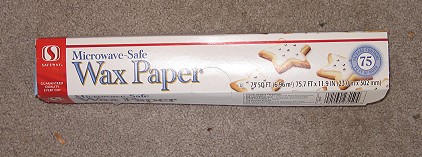
| Wrapped around sides when bending, to retain moisture | |
| Wrapped around sides when bending, to retain moisture | |
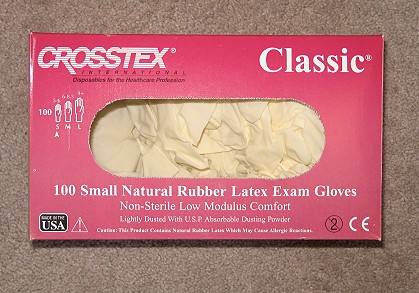
| For those messy, messy operations — or when doing the finishing of the instrument | |
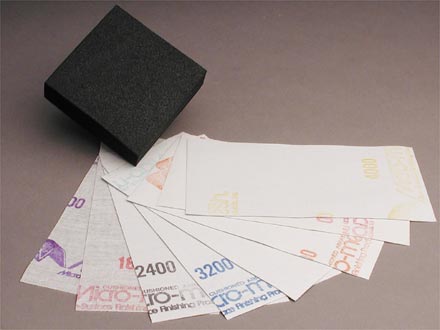
| Cloth-backed sanding squares — 9 grits from 1500 to 12000 --- lasts a long time!!! I use them for the final leveling and rubbing out of the finish. |
JIGS: |
||||||||
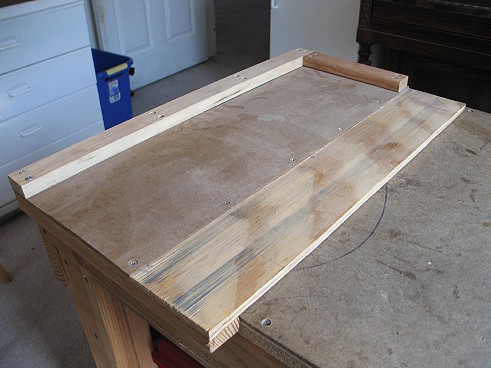
| For jointing soundboard and back halves — used with either a plane or sandpaper stuck to a 24" level | ||||||||
| An even better way to joint tops and backs — from Luthier Suppliers | ||||||||
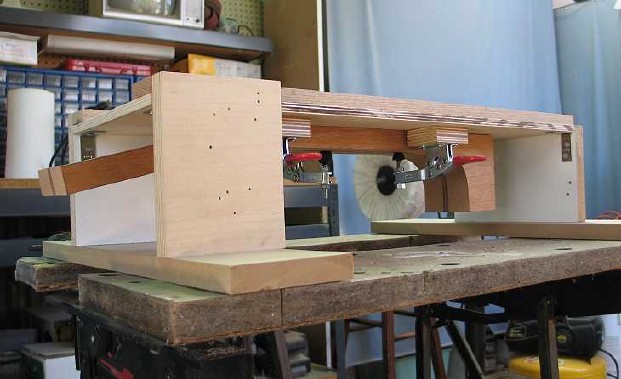
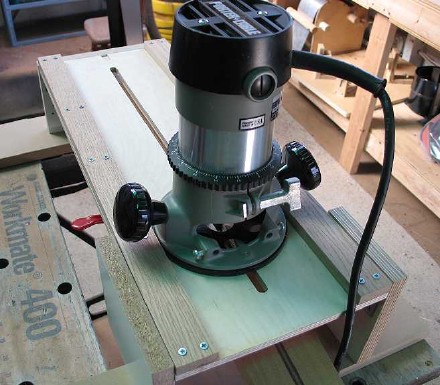
| Don Williams’ design – for use with laminate trimmer – EXCELLENT jig!!! | ||||||||
From John Hall of Bluescreek Guitars – very well-made!!! Here are some YouTube videos of John demonstrating the Universal Side Bender:
|
||||||||
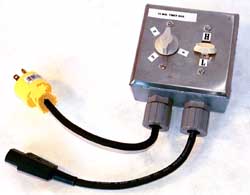
| 6” by 36” – with timer and temperature control – for use with side bender | ||||||||
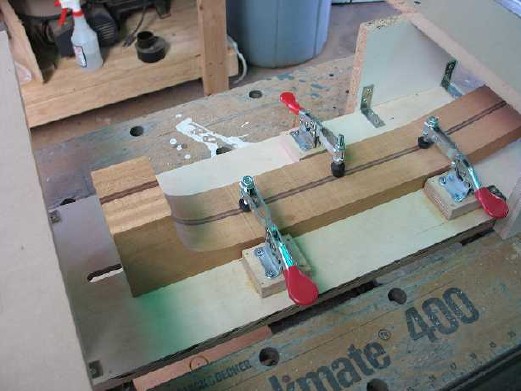
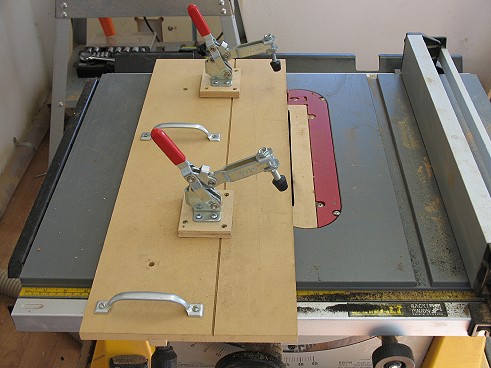
| From John Mayes & Jeff Traugott designs -- to easily and accurately rout the truss rod slot | ||||||||
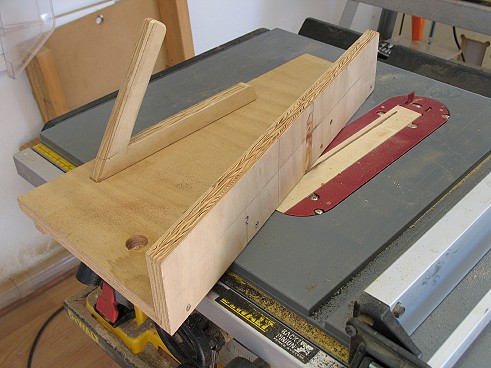
| From Pete Licis' plans —uses table saw | ||||||||
| From a Charles Fox idea -- uses table saw | ||||||||
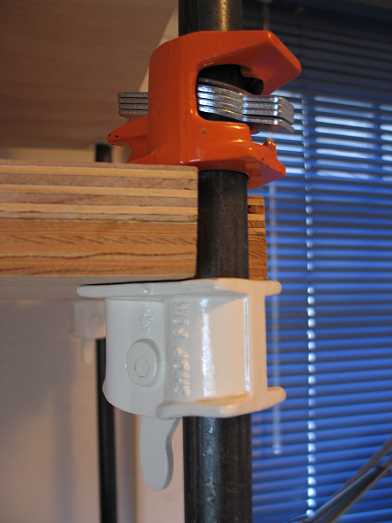
| I got this idea from Internet pal, Mark Frazier – uses Pony clamp parts --- Close-up Photo | ||||||||
| 24” sticks – from Stew-Mac. Some people use those fiberglass driveway markers you can find in Home Depot or Lowe's. | ||||||||
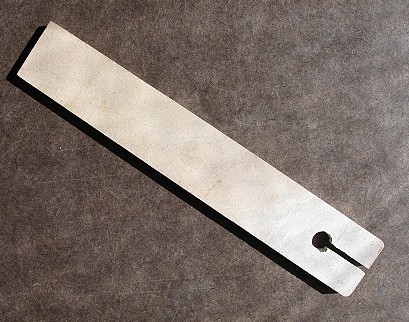
| From an idea from the OLF (the Official Luthiers Forum) — to level the area above the soundhole before gluing on the neck & fingerboard extension. | ||||||||
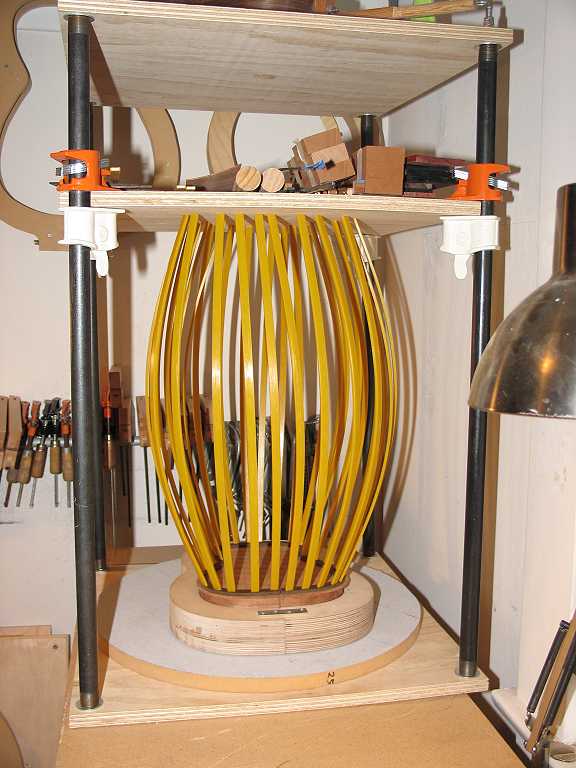
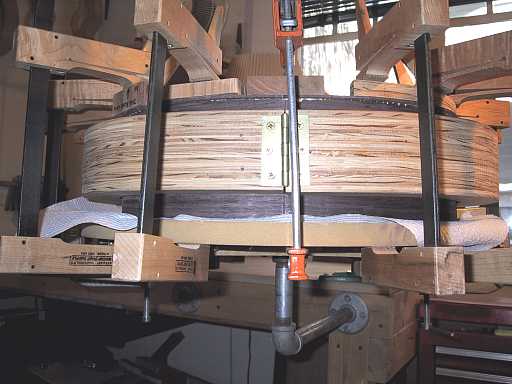
| Uses pipes and a pipe flange – used for supporting the body when gluing on tops and backs | ||||||||
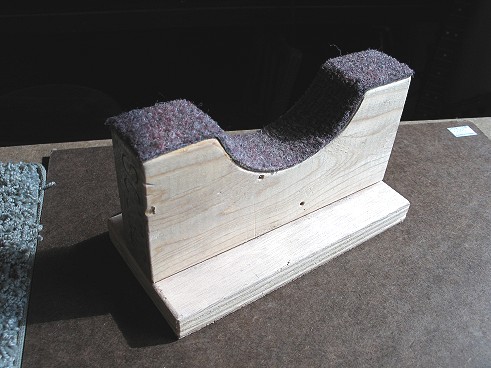
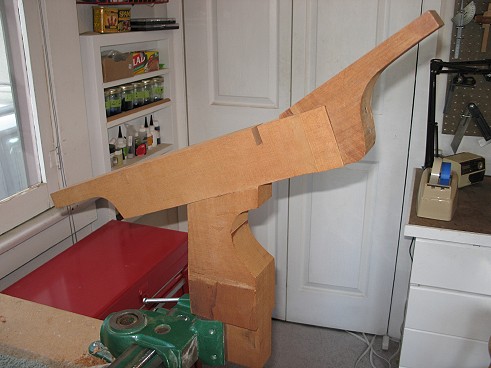
| Just a simple carpet-covered wood support for the neck | ||||||||
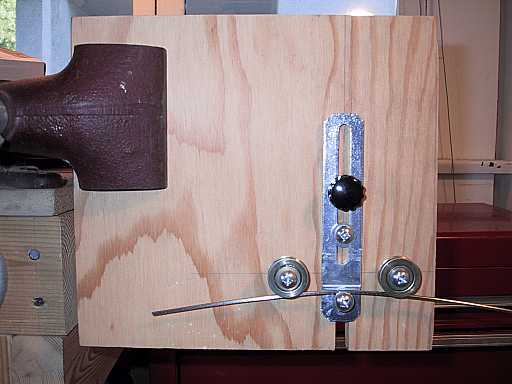
| For pre-bending fretwire | ||||||||
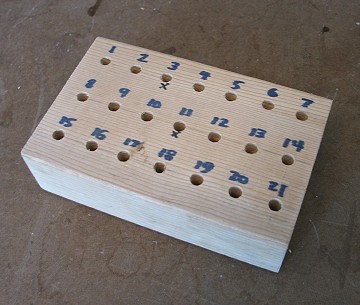
| Such a simple little thing – but it keeps those frets in order!!! | ||||||||
| I had bought mine from Martin Guitarmakers Connection years ago, before I knew anything about making jigs!!! | ||||||||
| Made from pipes and 2 flanges | ||||||||
| Very simple jig – just clamp it to the workbench |